How to setup Sonoff Pow R1 for ESPHome

I have some old Sonoff Pow (version 1) smart DIY switches in my home that I wish to repurpose them using ESPHome. Here is the guide on how I flash ESPHome firmware into my Sonoff Pow smart switches.
Here are the stuffs I used in this guide...
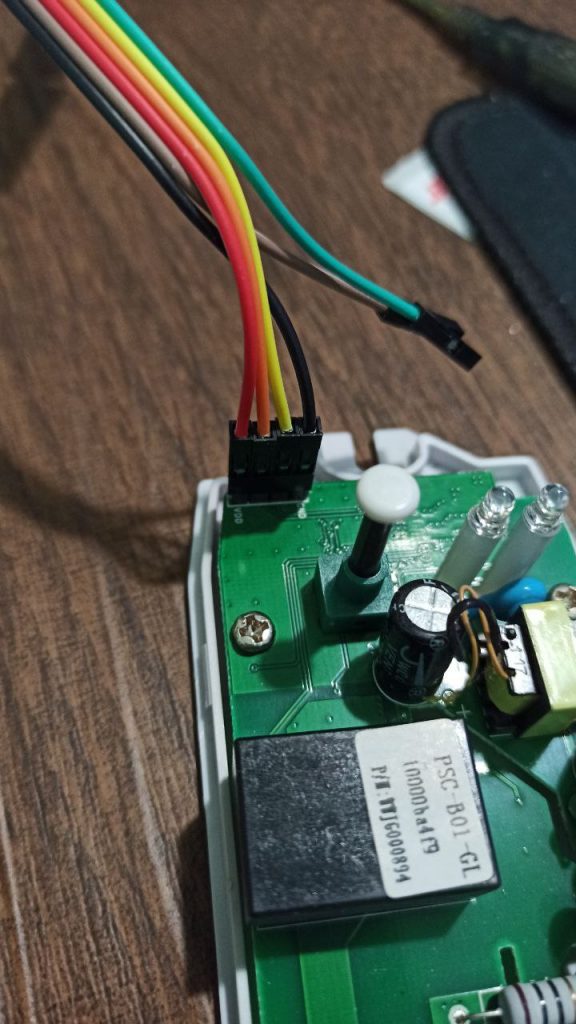
- Sonoff POW R1 switches
- ESPHome Dashboard. Mine is running on Docker in Synology NAS.
- FTDI Friend from Adafruit to connect Sonoff POW to my PC via USB.
- Windows PC
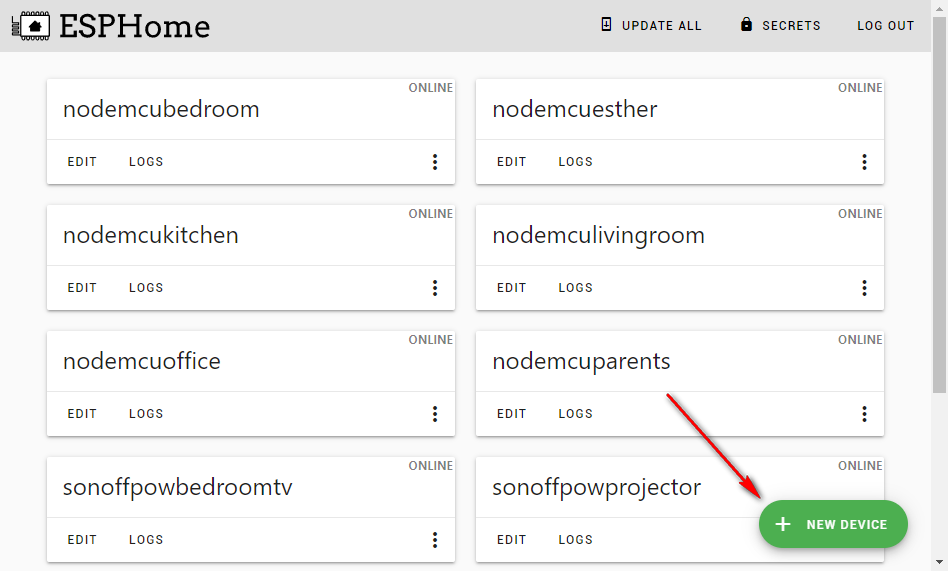
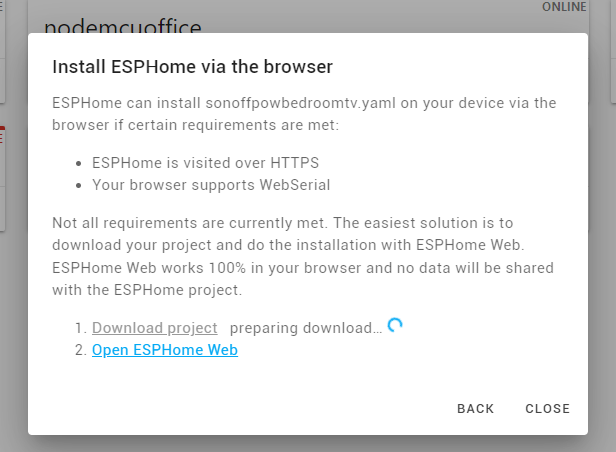
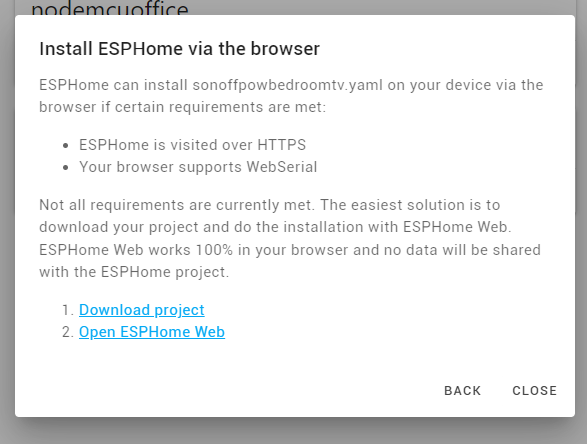
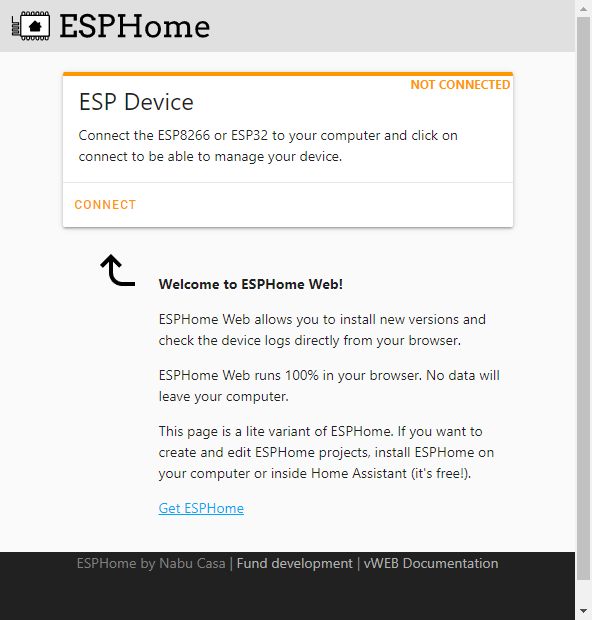
- First, go to ESPHome Dashboard in your Windows PC browser.
8. Copy and paste this into the editor…
esphome:
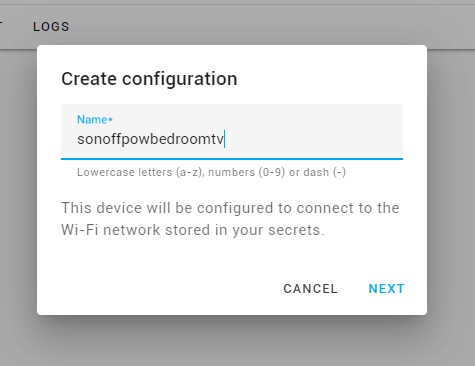
name: sonoffpowbedroomtv # <= Change this
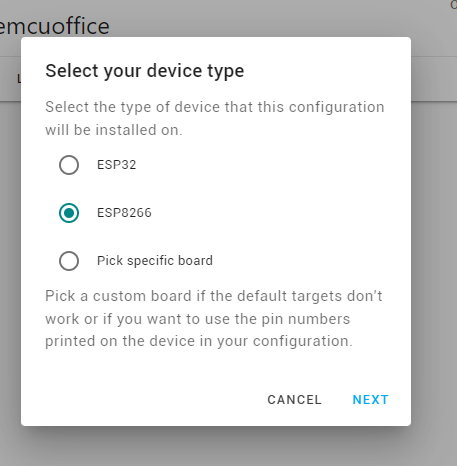
esp8266:
board: esp01_1m
# Enable logging
logger:
# Enable Home Assistant API
api:
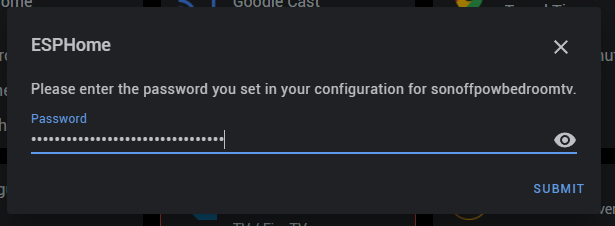
password: !secret api_password
ota:
password: !secret ota_password
wifi:
ssid: !secret wifi_ssid
password: !secret wifi_password
fast_connect: true # Required for hidden SSID
# Enable fallback hotspot (captive portal) in case wifi connection fails
ap:
ssid: "Sonoffpowbedroomtv" # <= Change this
password: "xxxxxxx"
captive_portal:
binary_sensor:
- platform: gpio
pin:
number: GPIO0
mode:
input: true
pullup: true
inverted: true
name: "Sonoff Pow Bedroom TV Button" # <= Change this
- platform: status
name: "Sonoff Pow Bedroom TV Status" # <= Change this
switch:
- platform: gpio
name: "Sonoff Pow Bedroom TV Relay" # <= Change this
pin: GPIO12
output:
# Register the blue LED as a dimmable output ....
- platform: esp8266_pwm
id: blue_led
pin: GPIO15
inverted: false
light:
# ... and then make a light out of it.
- platform: monochromatic
name: "Sonoff Pow Bedroom TV Blue LED" # <= Change this
output: blue_led
sensor:
- platform: hlw8012
sel_pin: 5
cf_pin: 14
cf1_pin: 13
current:
name: "Sonoff Pow Bedroom TV Current" # <= Change this
voltage:
name: "Sonoff Pow Bedroom TV Voltage" # <= Change this
power:
name: "Sonoff Pow Bedroom TV Power" # <= Change this
energy:
name: "Sonoff Pow Bedroom TV Energy" # <= Change this
update_interval: 10s
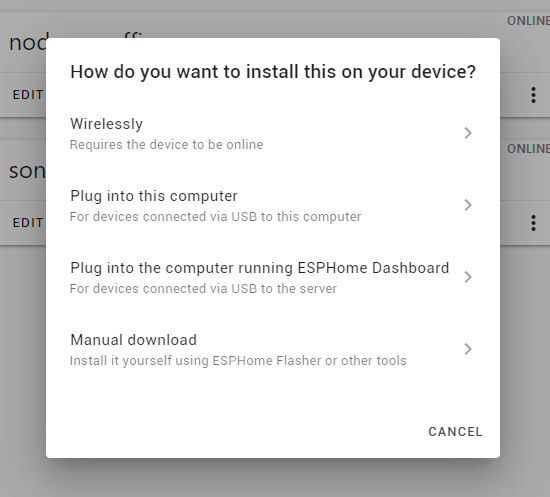
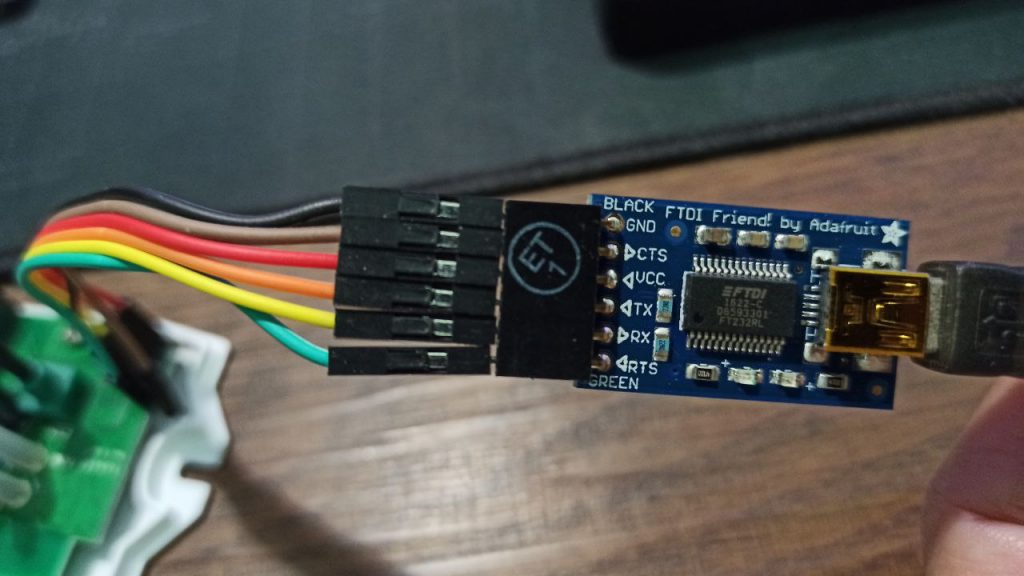
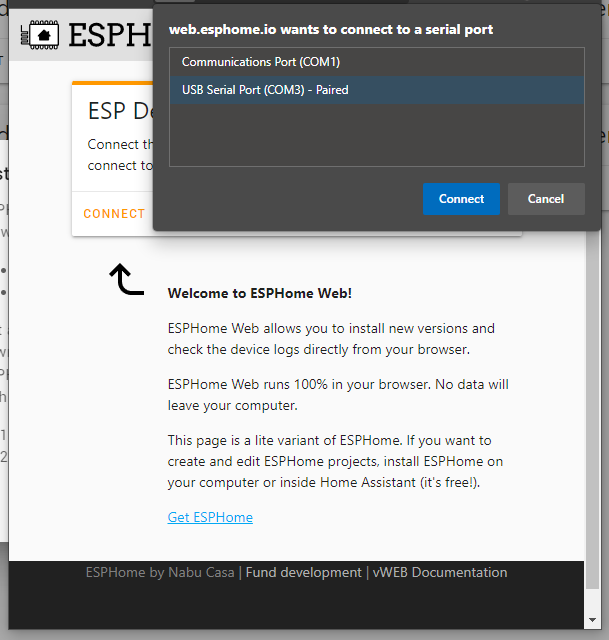
14. Press and hold the switch button and plug in the FTDI to your computer USB port. Release button after plug in.

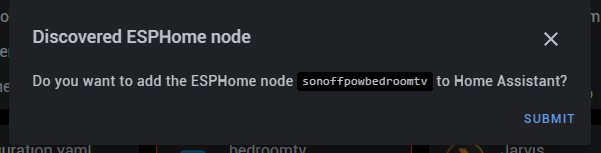
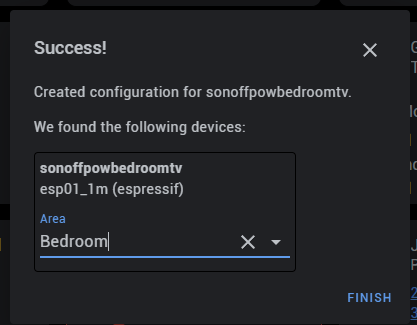
It's done. You should see 8 new entities created in your Home Assistant.
Comments