How to install AsusWRT component into Home Assistant using SSH Key (without using password)

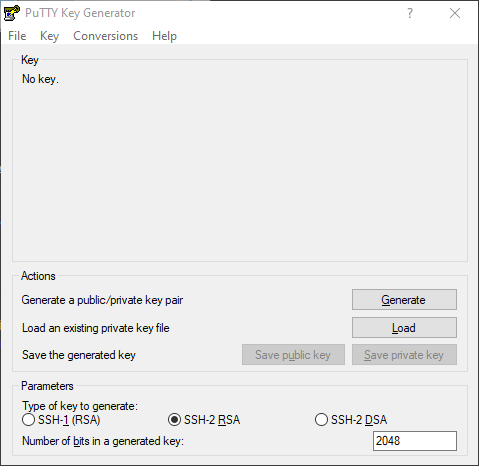
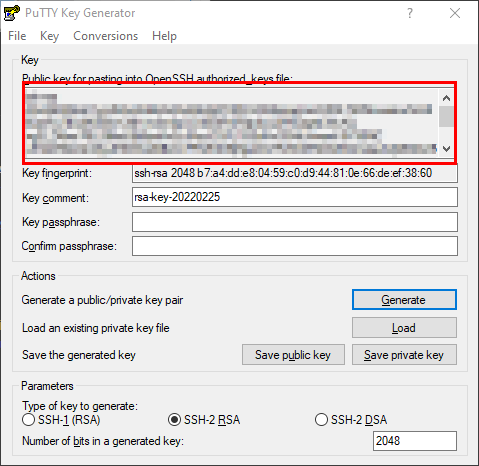
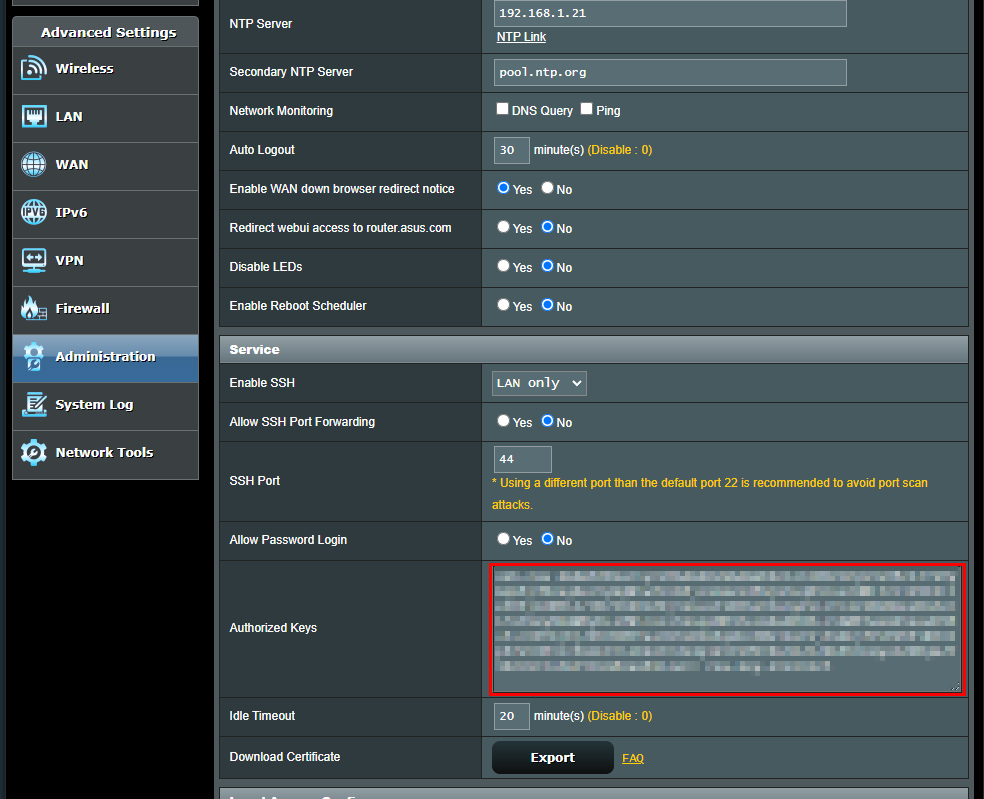
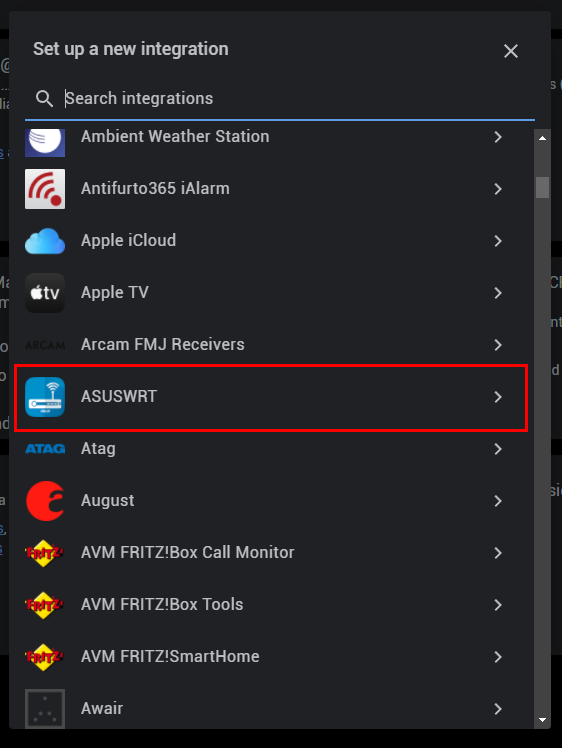
If you are using an Asus router, you may use the official AsusWRT component to integrate it into your Home Assistant. However, the component page doesn't teach you how to install the AsusWRT component using SSH Key. Here is a pictorial guide on how to do that.
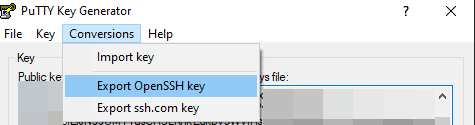
5. Upload the file to HA config folder. E.g. /config/ssh/asuswrt
6. CHMOD the file to 0600 via WinSCP or this command in PuTTY; chmod 600 /config/ssh/asuswrt
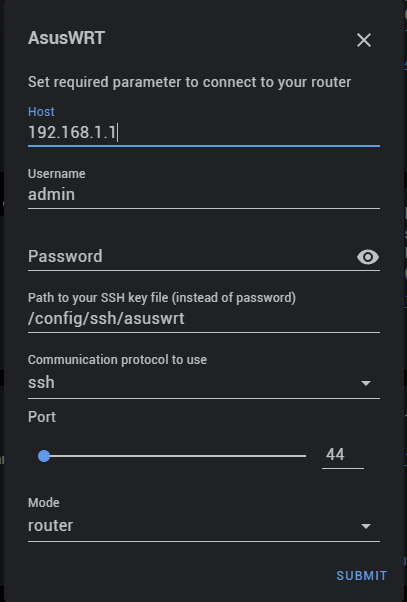
That's it, you are done! You may use the generated SSH key file to create command line switch or sensor in your Home Assistant to control or view certain status of your Asus router.

Comments