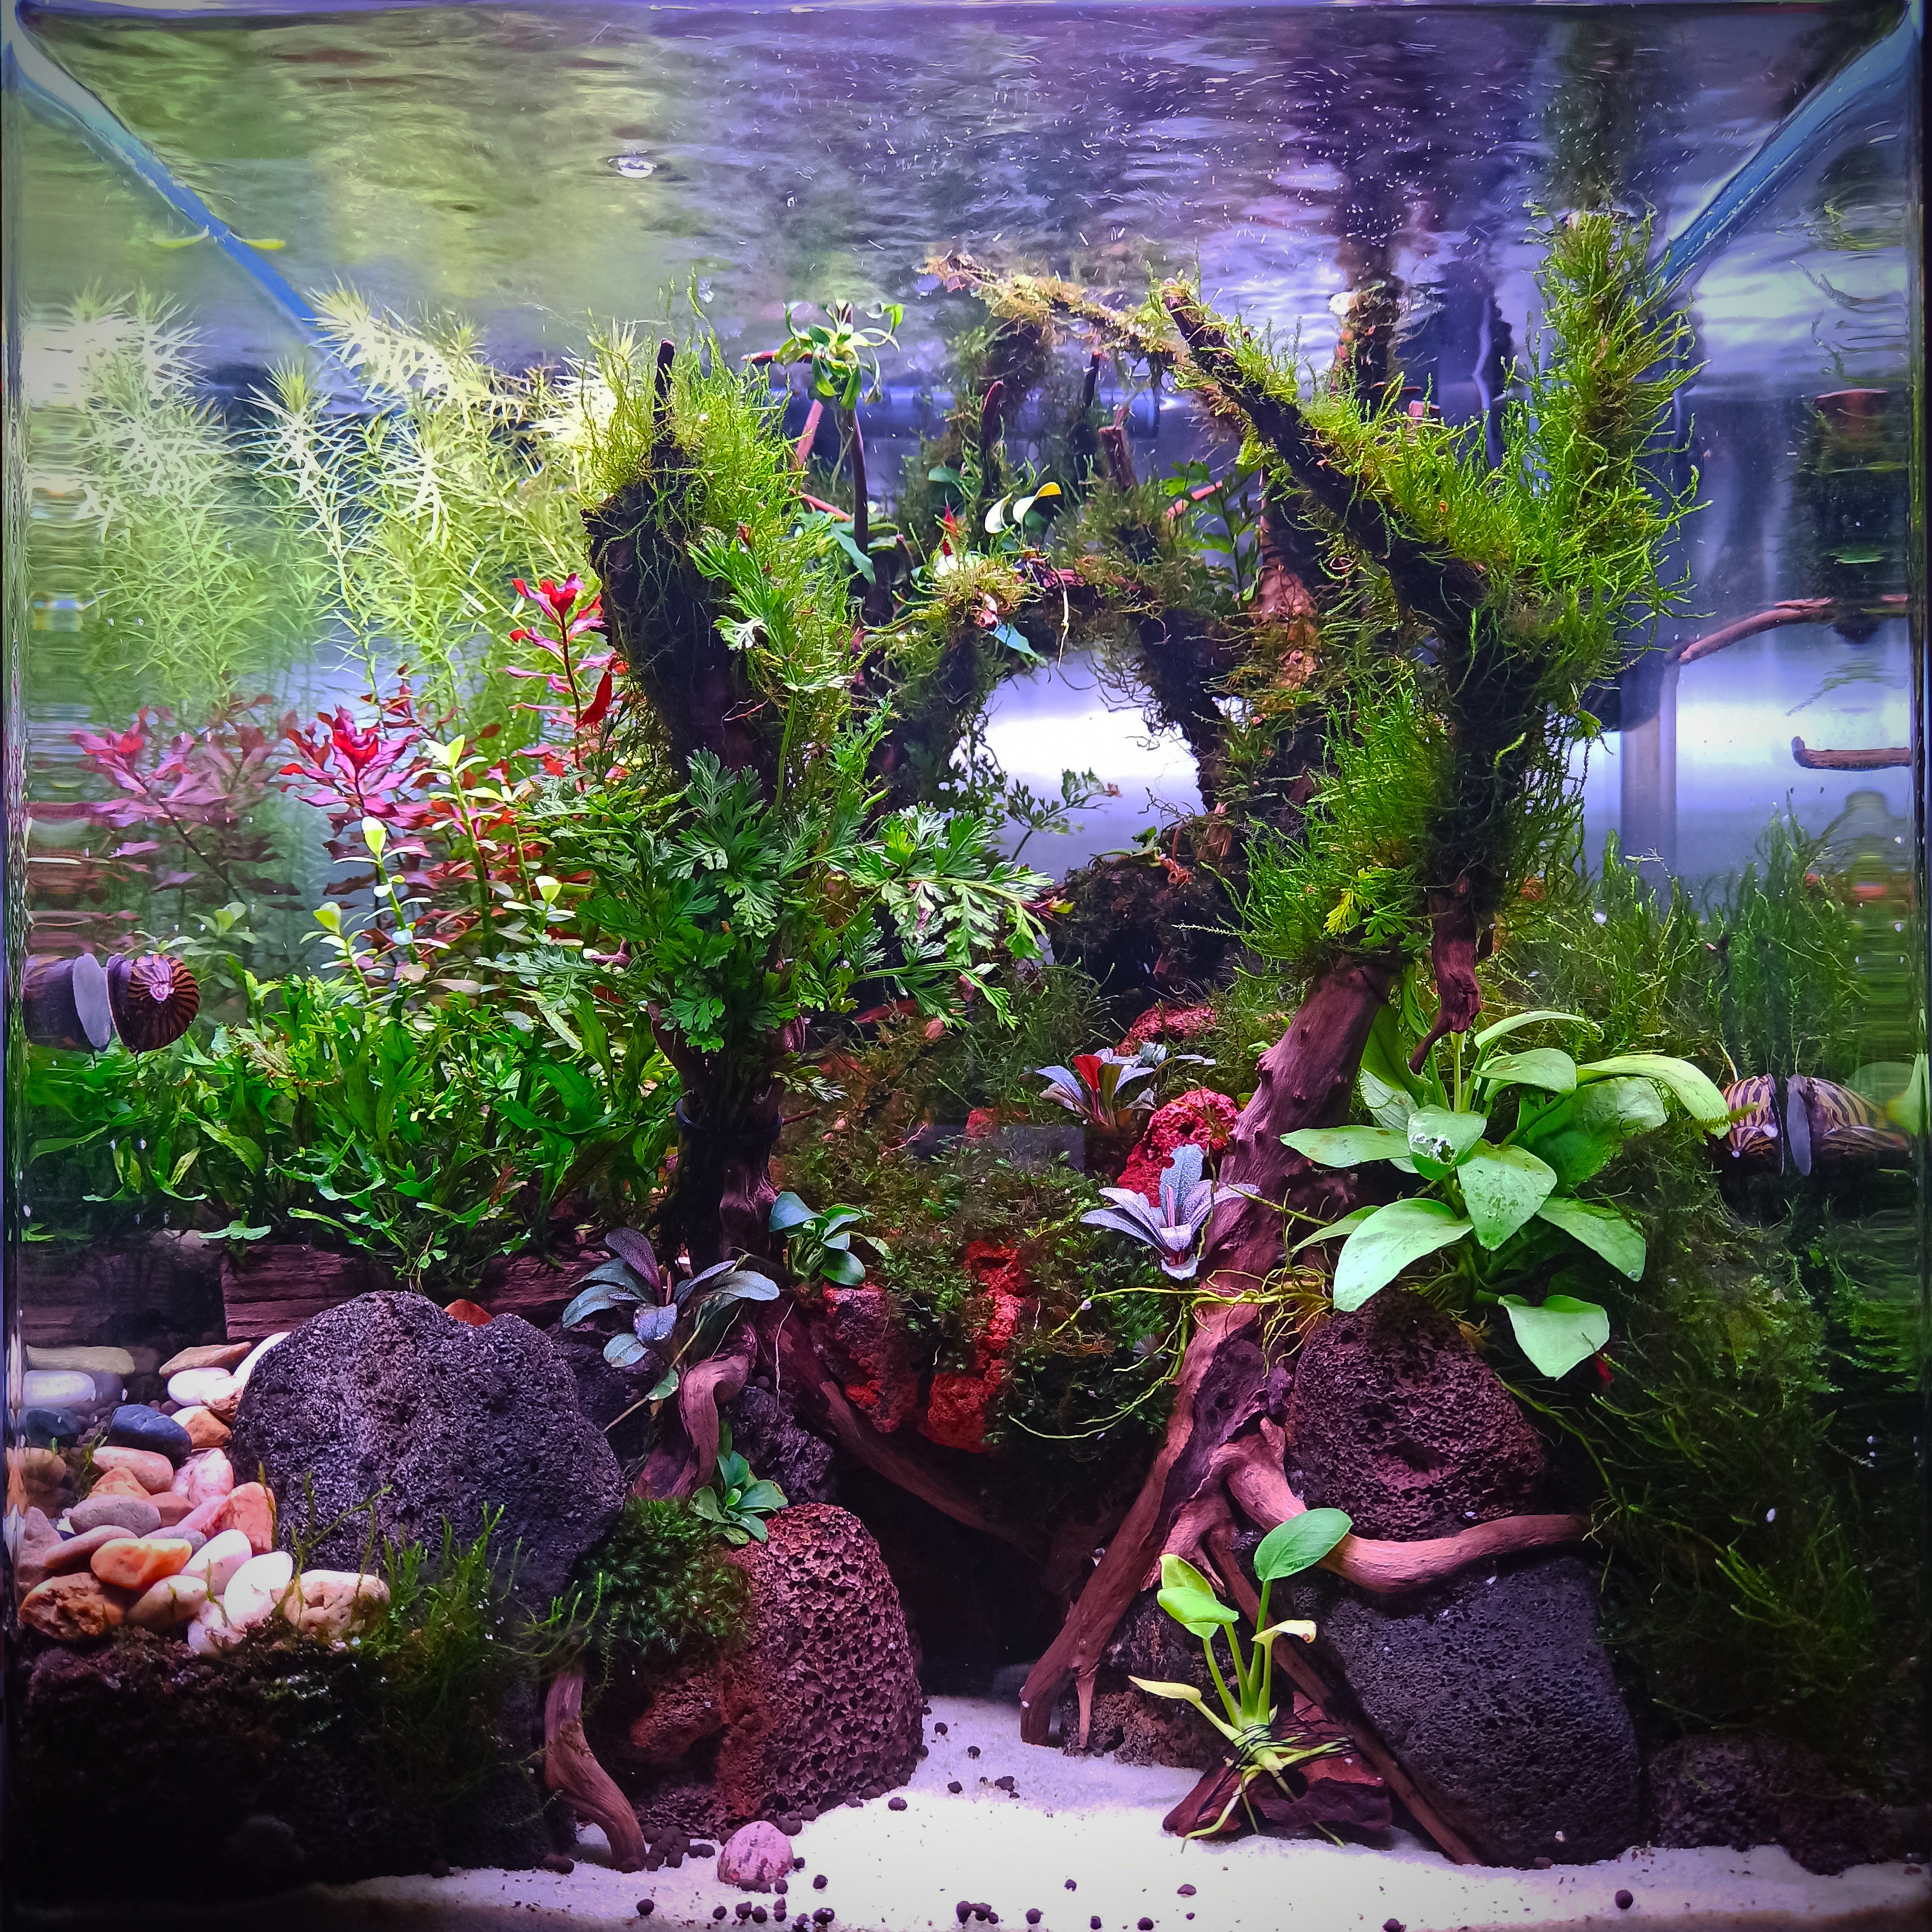
Smarter Aquarium with Home Assistant: Automated Water Change System
Aquarium maintenance requires a high level of discipline; otherwise, one may find themselves drowning in a sea of algae. It's the primary reason why many people give up on the aquarium hobby entirely. One of the essential aspects of maintenance is performing regular water changes. It is generally recommended to change at least 30% of the water once a week to ensure the health of our fish and prevent excessive algae growth. However, why invest valuable time and energy when we can automate this process? Here's a solution using Home Assistant that eliminates the need for wall hacking or drilling the aquarium glass.
Please be aware that while this guide is specifically tailored for Home Assistant users, you can adapt the concepts discussed to suit your preferred smart home solution. However, it's important to note that the sample automation script provided may not be directly applicable to your specific system. Nonetheless, the underlying principles and ideas can still be implemented with some adjustments to accommodate your chosen smart home platform.
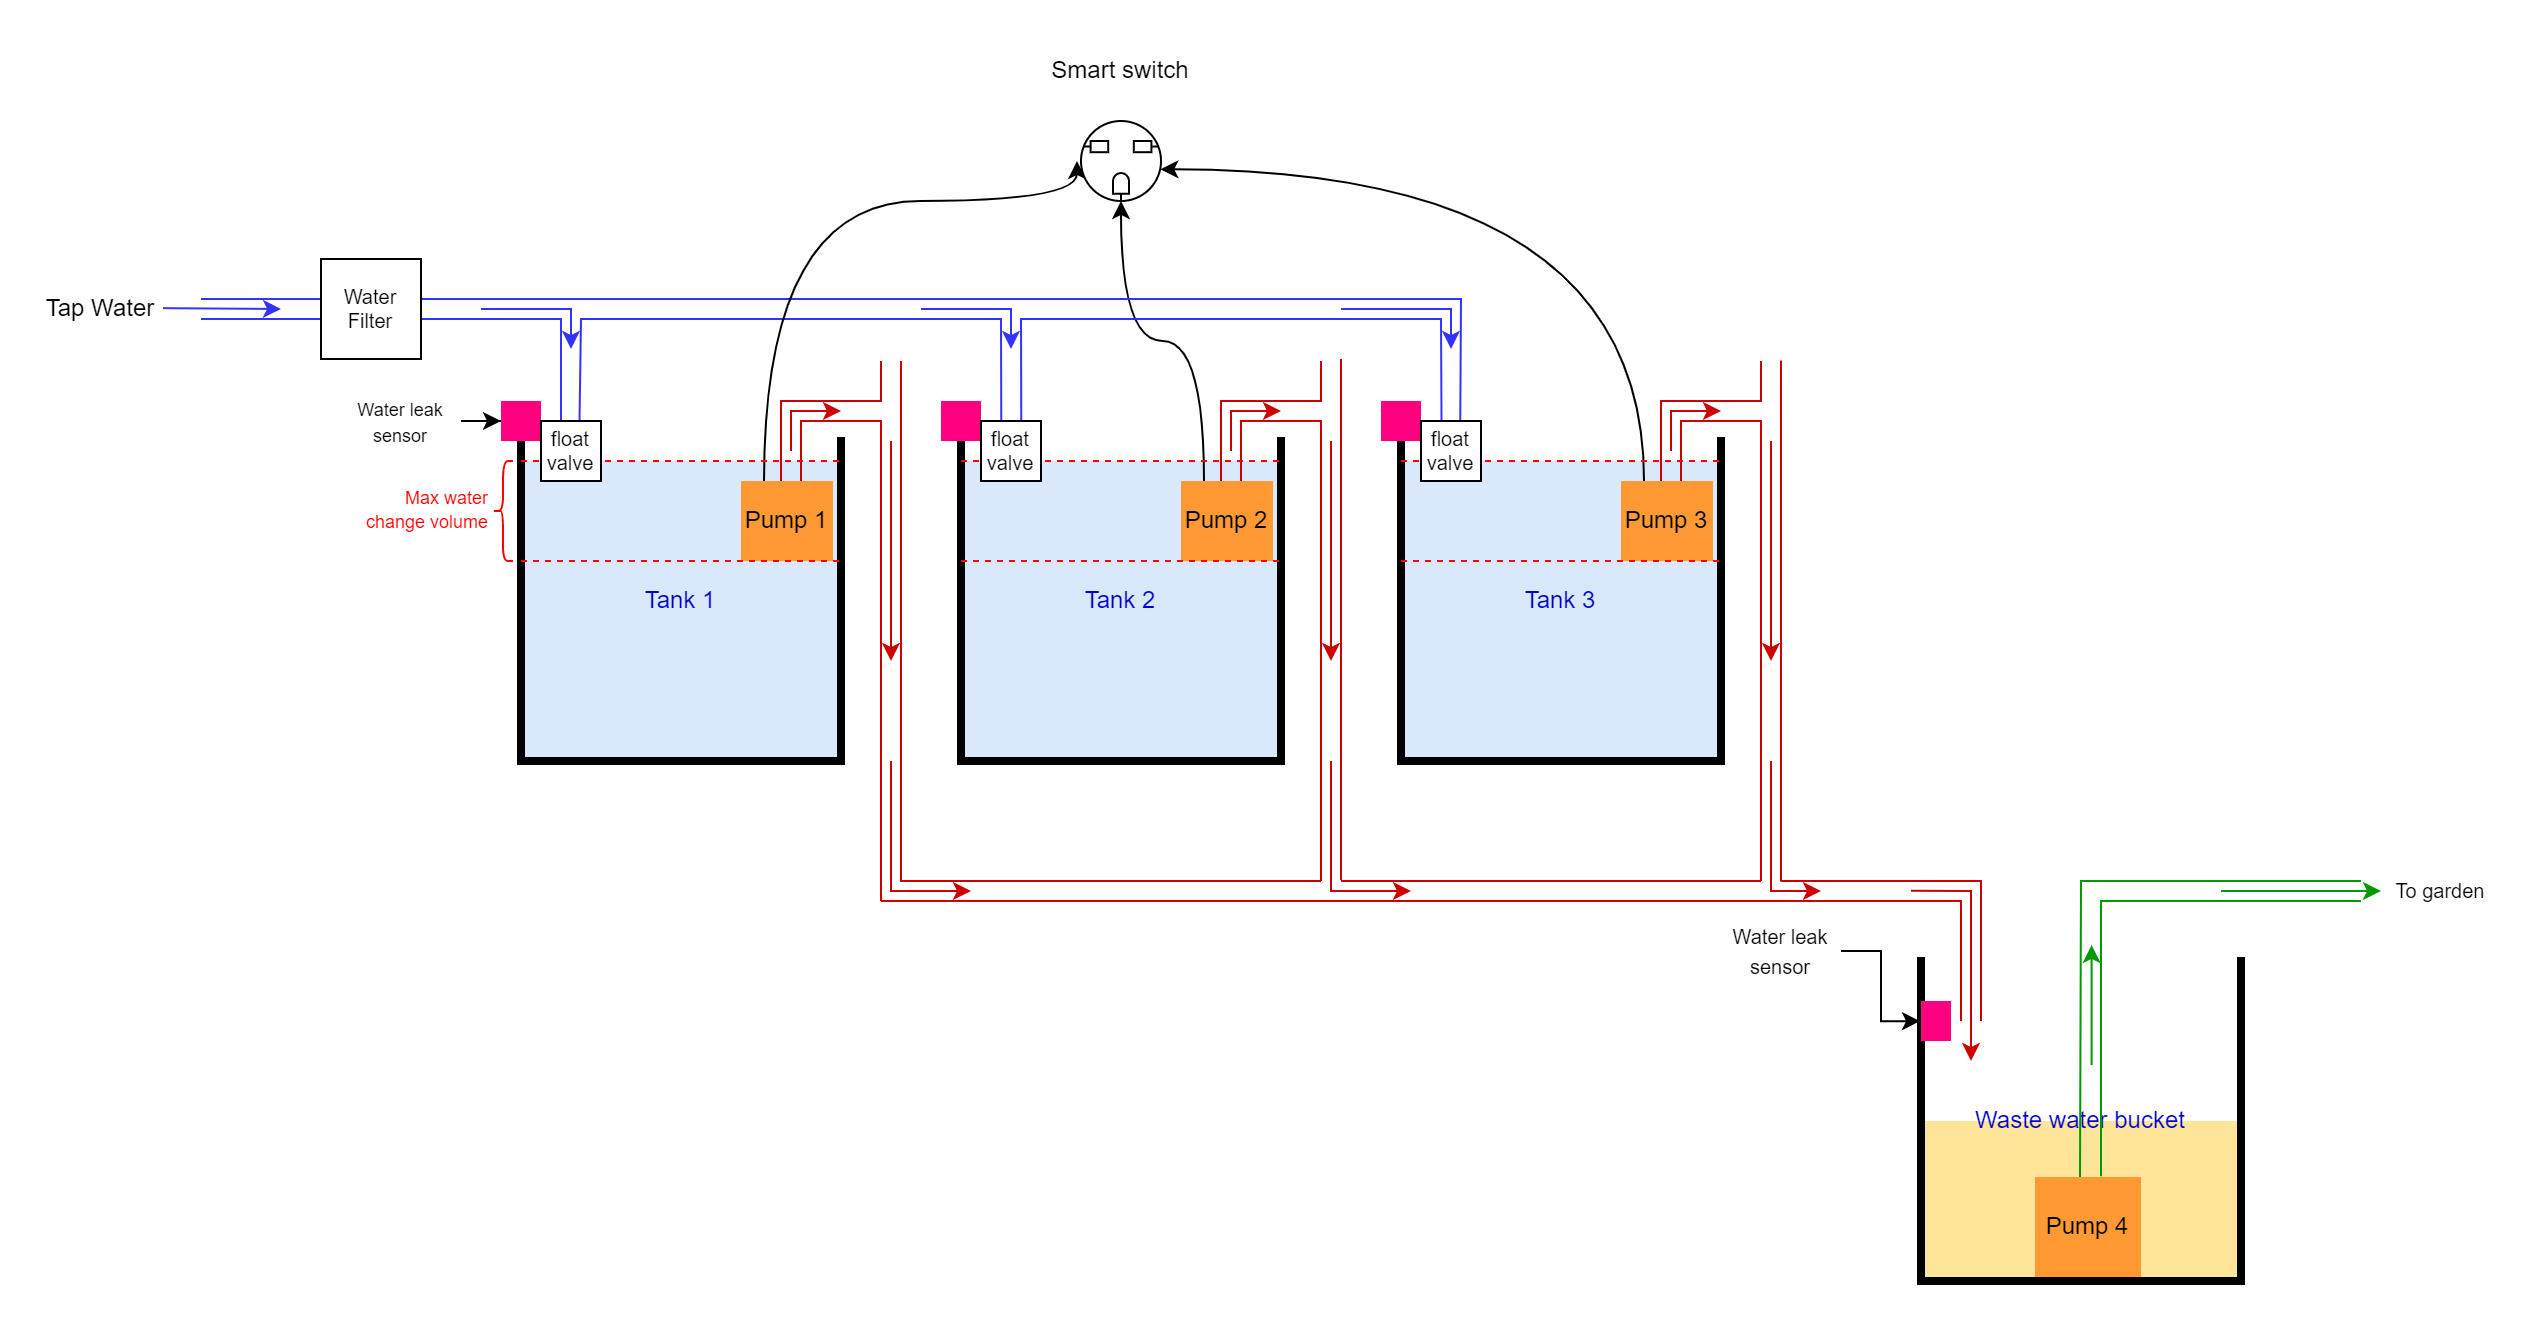
Before diving into that, changing the water in an aquarium involves two separate processes: first, removing the water from the aquarium (red line in above diagram), and second, refilling it with fresh water (blue line in above diagram). Let's begin with the first process:
Removing the water
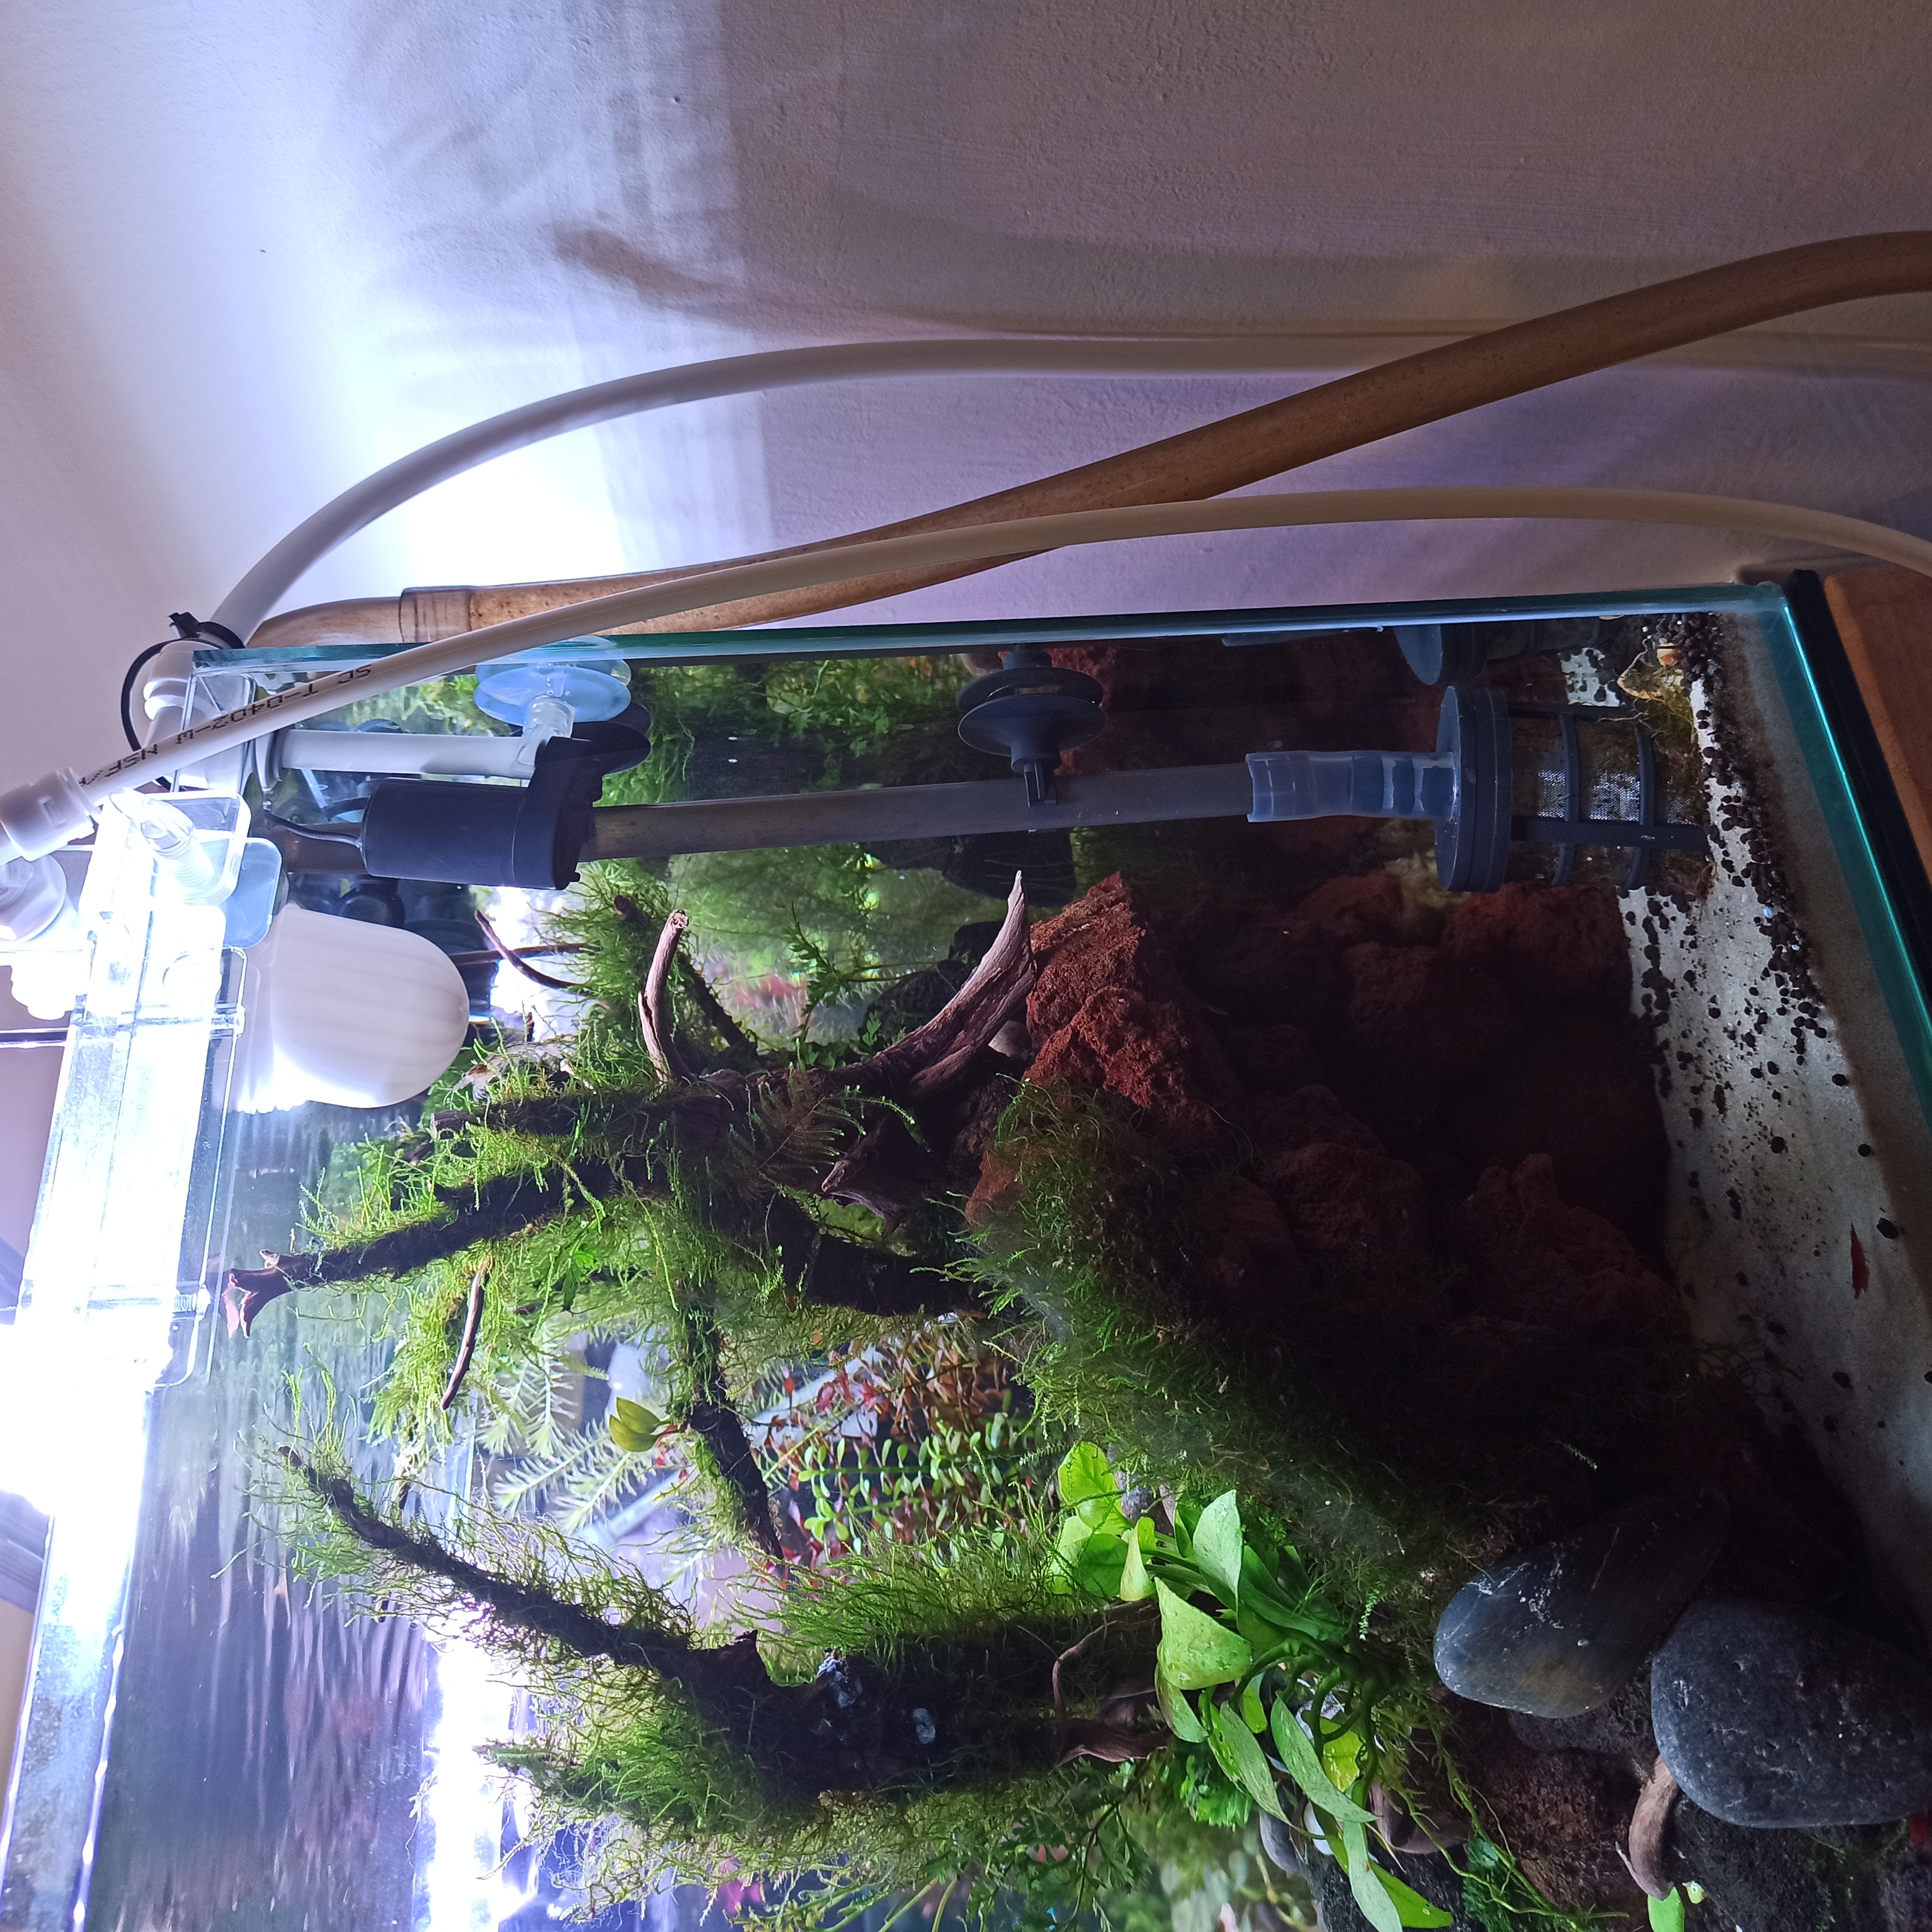
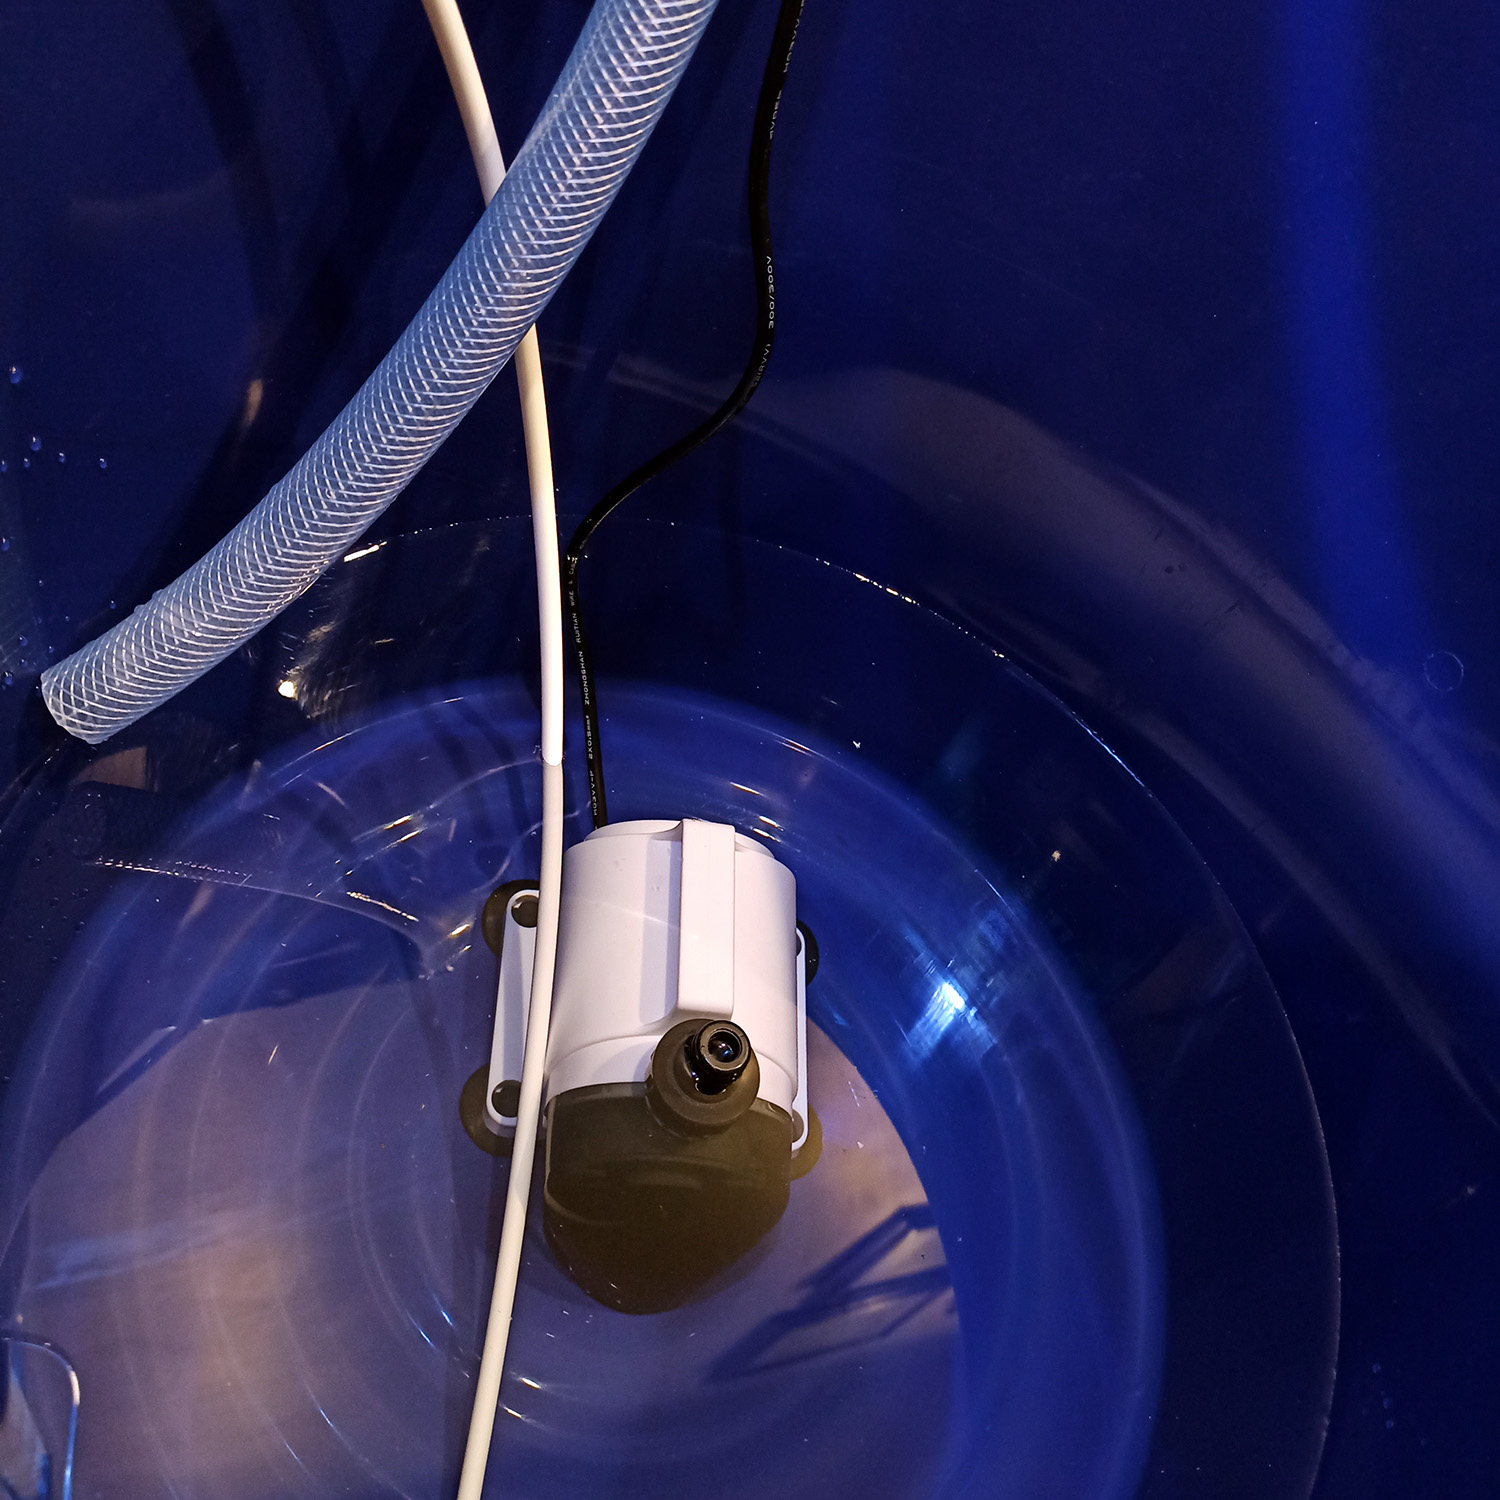
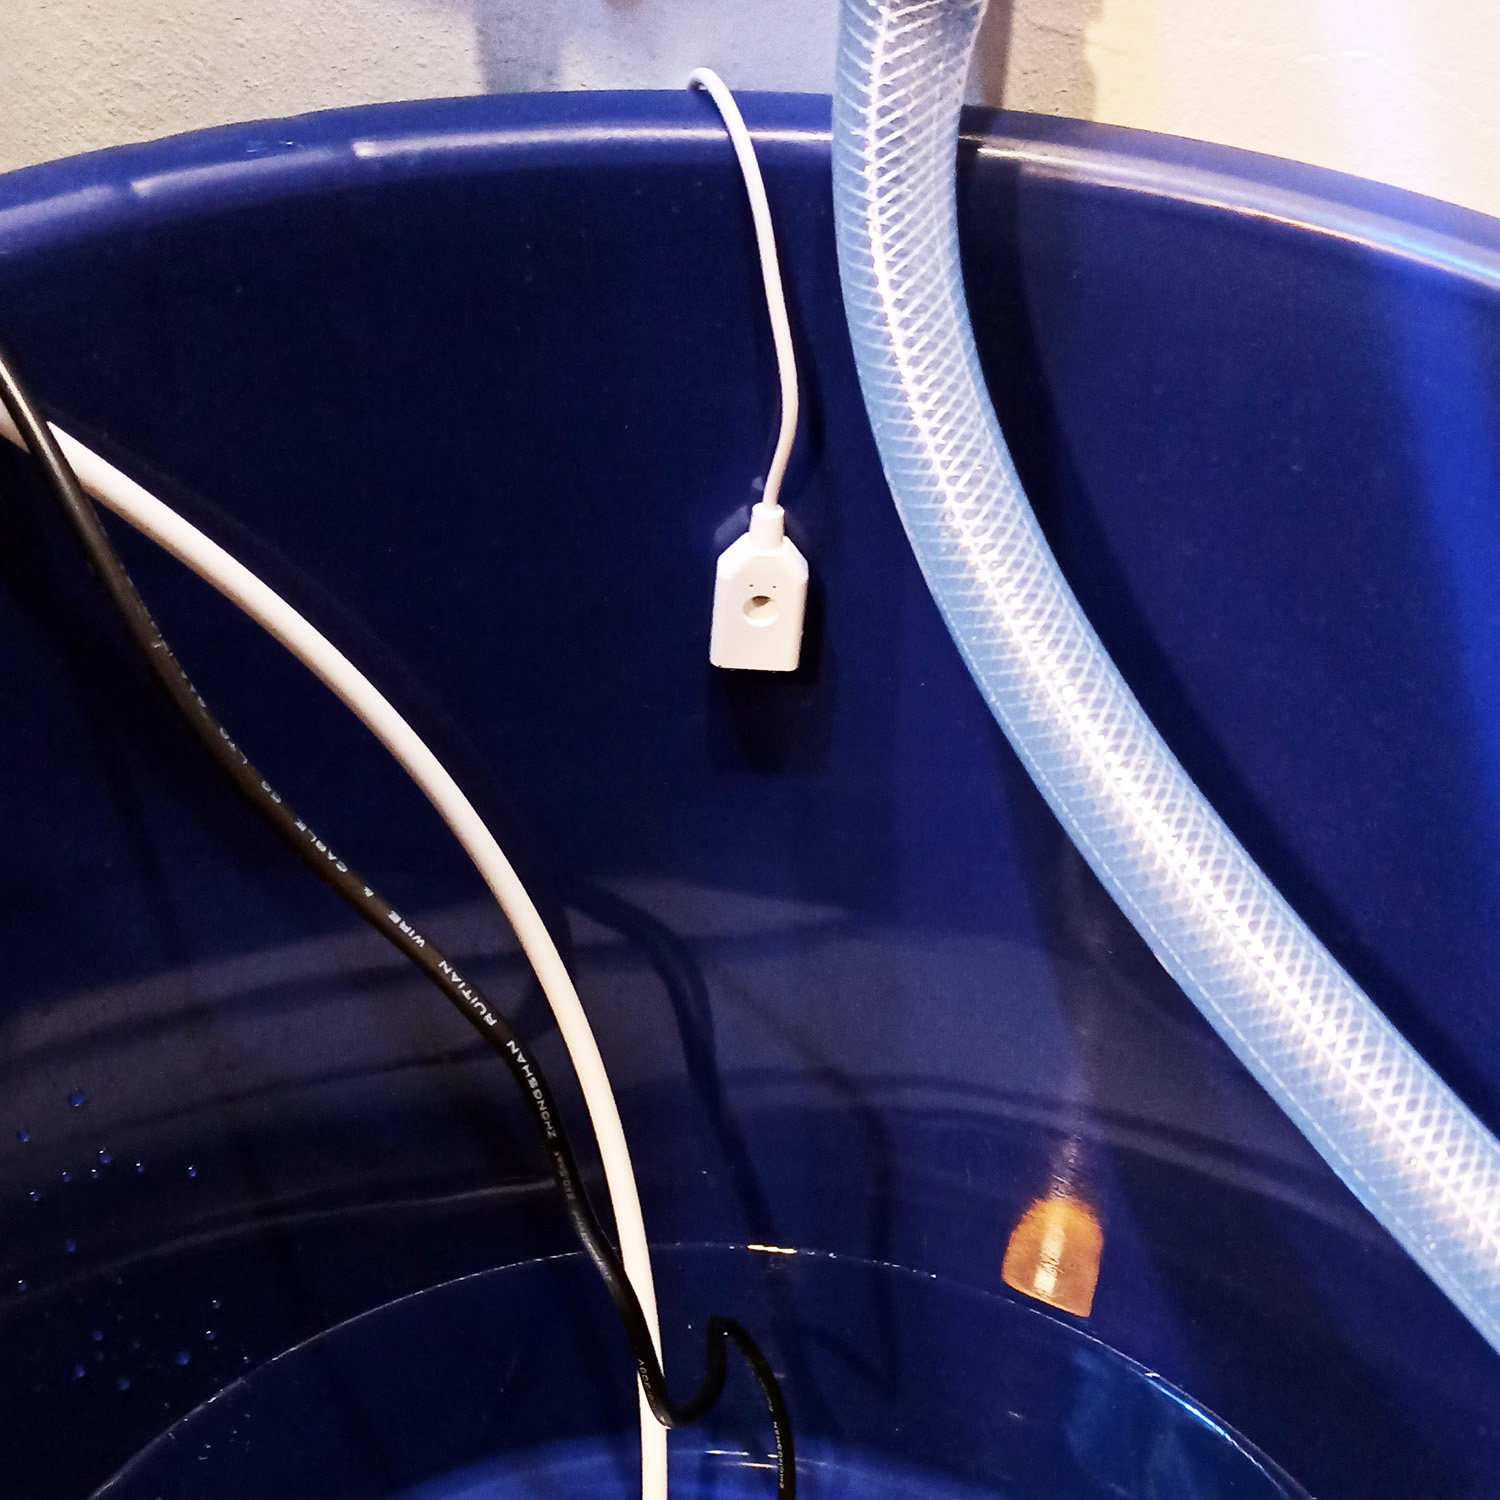
The concept is straightforward. Each tank will have a dedicated mini water pump installed at a fixed depth to ensure consistent water removal from each tank. These pumps will be connected to a smart switch integrated into Home Assistant. The smart switch will be programmed to run on a weekly basis. When activated, the pumps will efficiently extract waste water from the tanks, directing it through tubing into a large bucket. The bucket will serve as a central collection point for all the waste water. To prevent overflow, a strategically placed water leak sensor inside the bucket will detect when the water reaches a certain level. Once the sensor detects water, the smart switch will not turn on until I manually empty the bucket by pumping out the water. This collected waste water can then be repurposed to nourish the plants in my garden, promoting sustainability and reducing water wastage.
Here is a list of the required equipment for the setup:
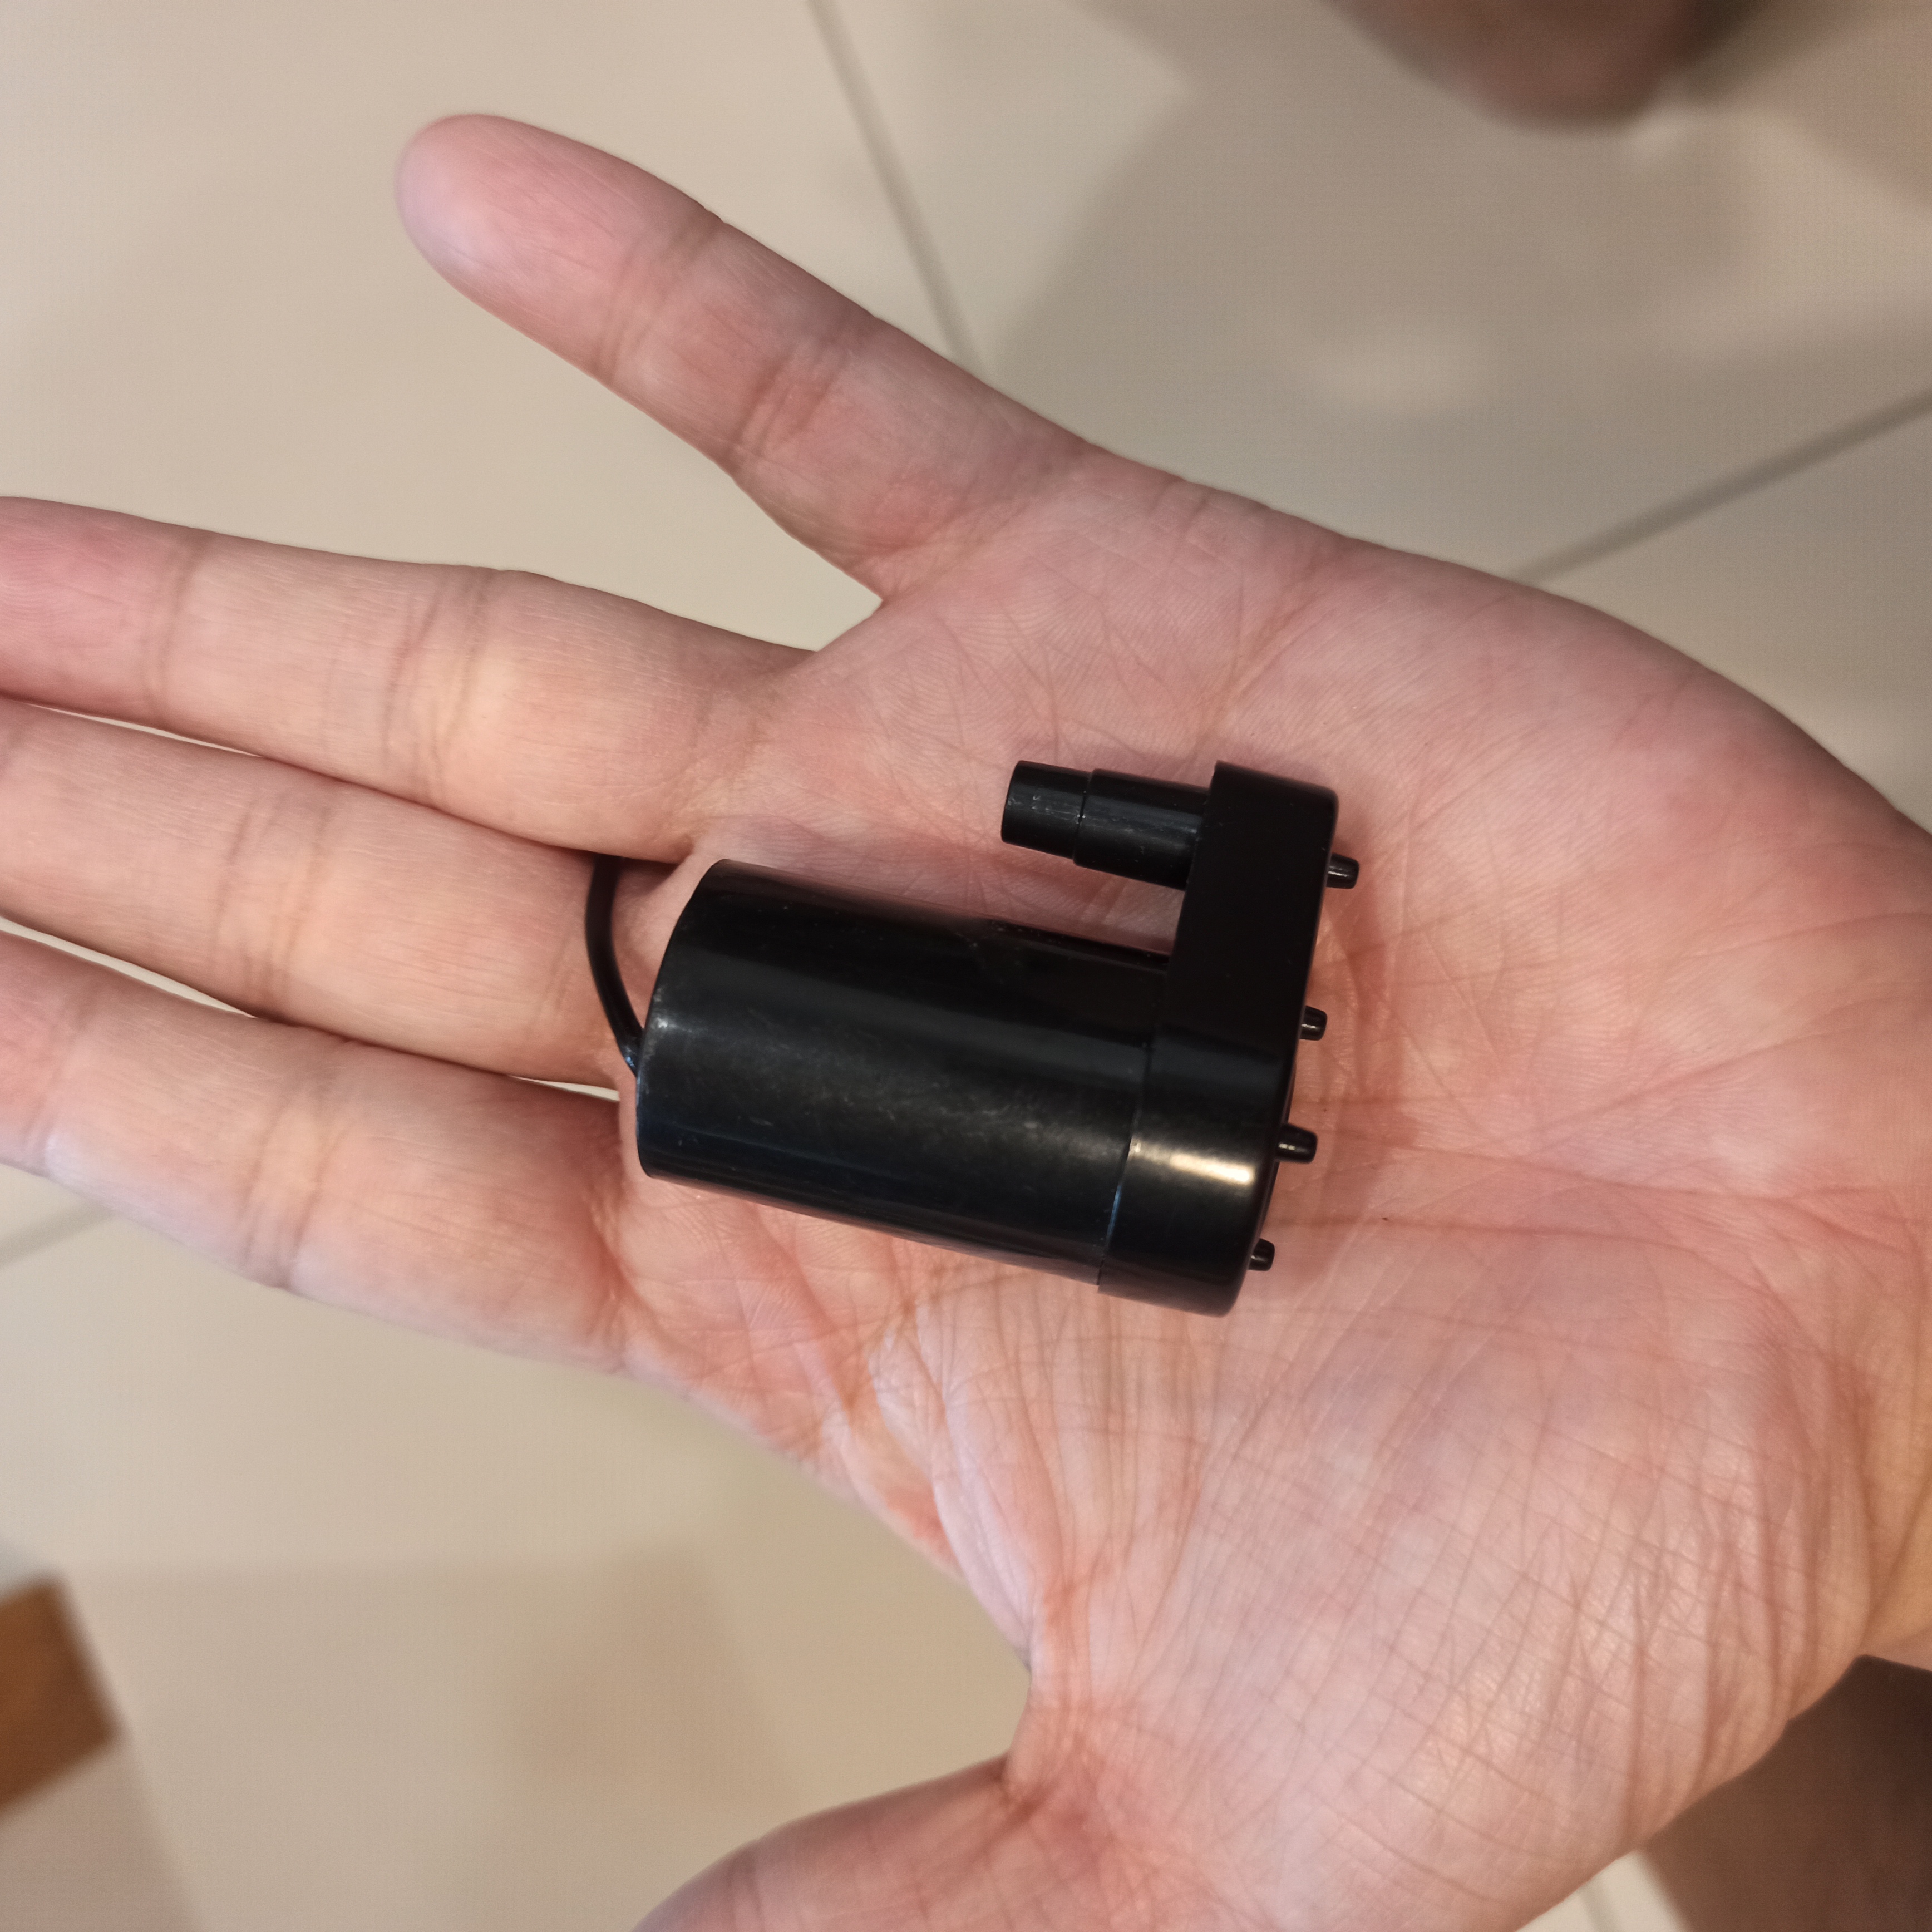
- Mini submersible water pump (USB powered) (Buy: Amazon, Lazada)
- 3/8" water filter tube and its elbow fitting and Tee fitting.
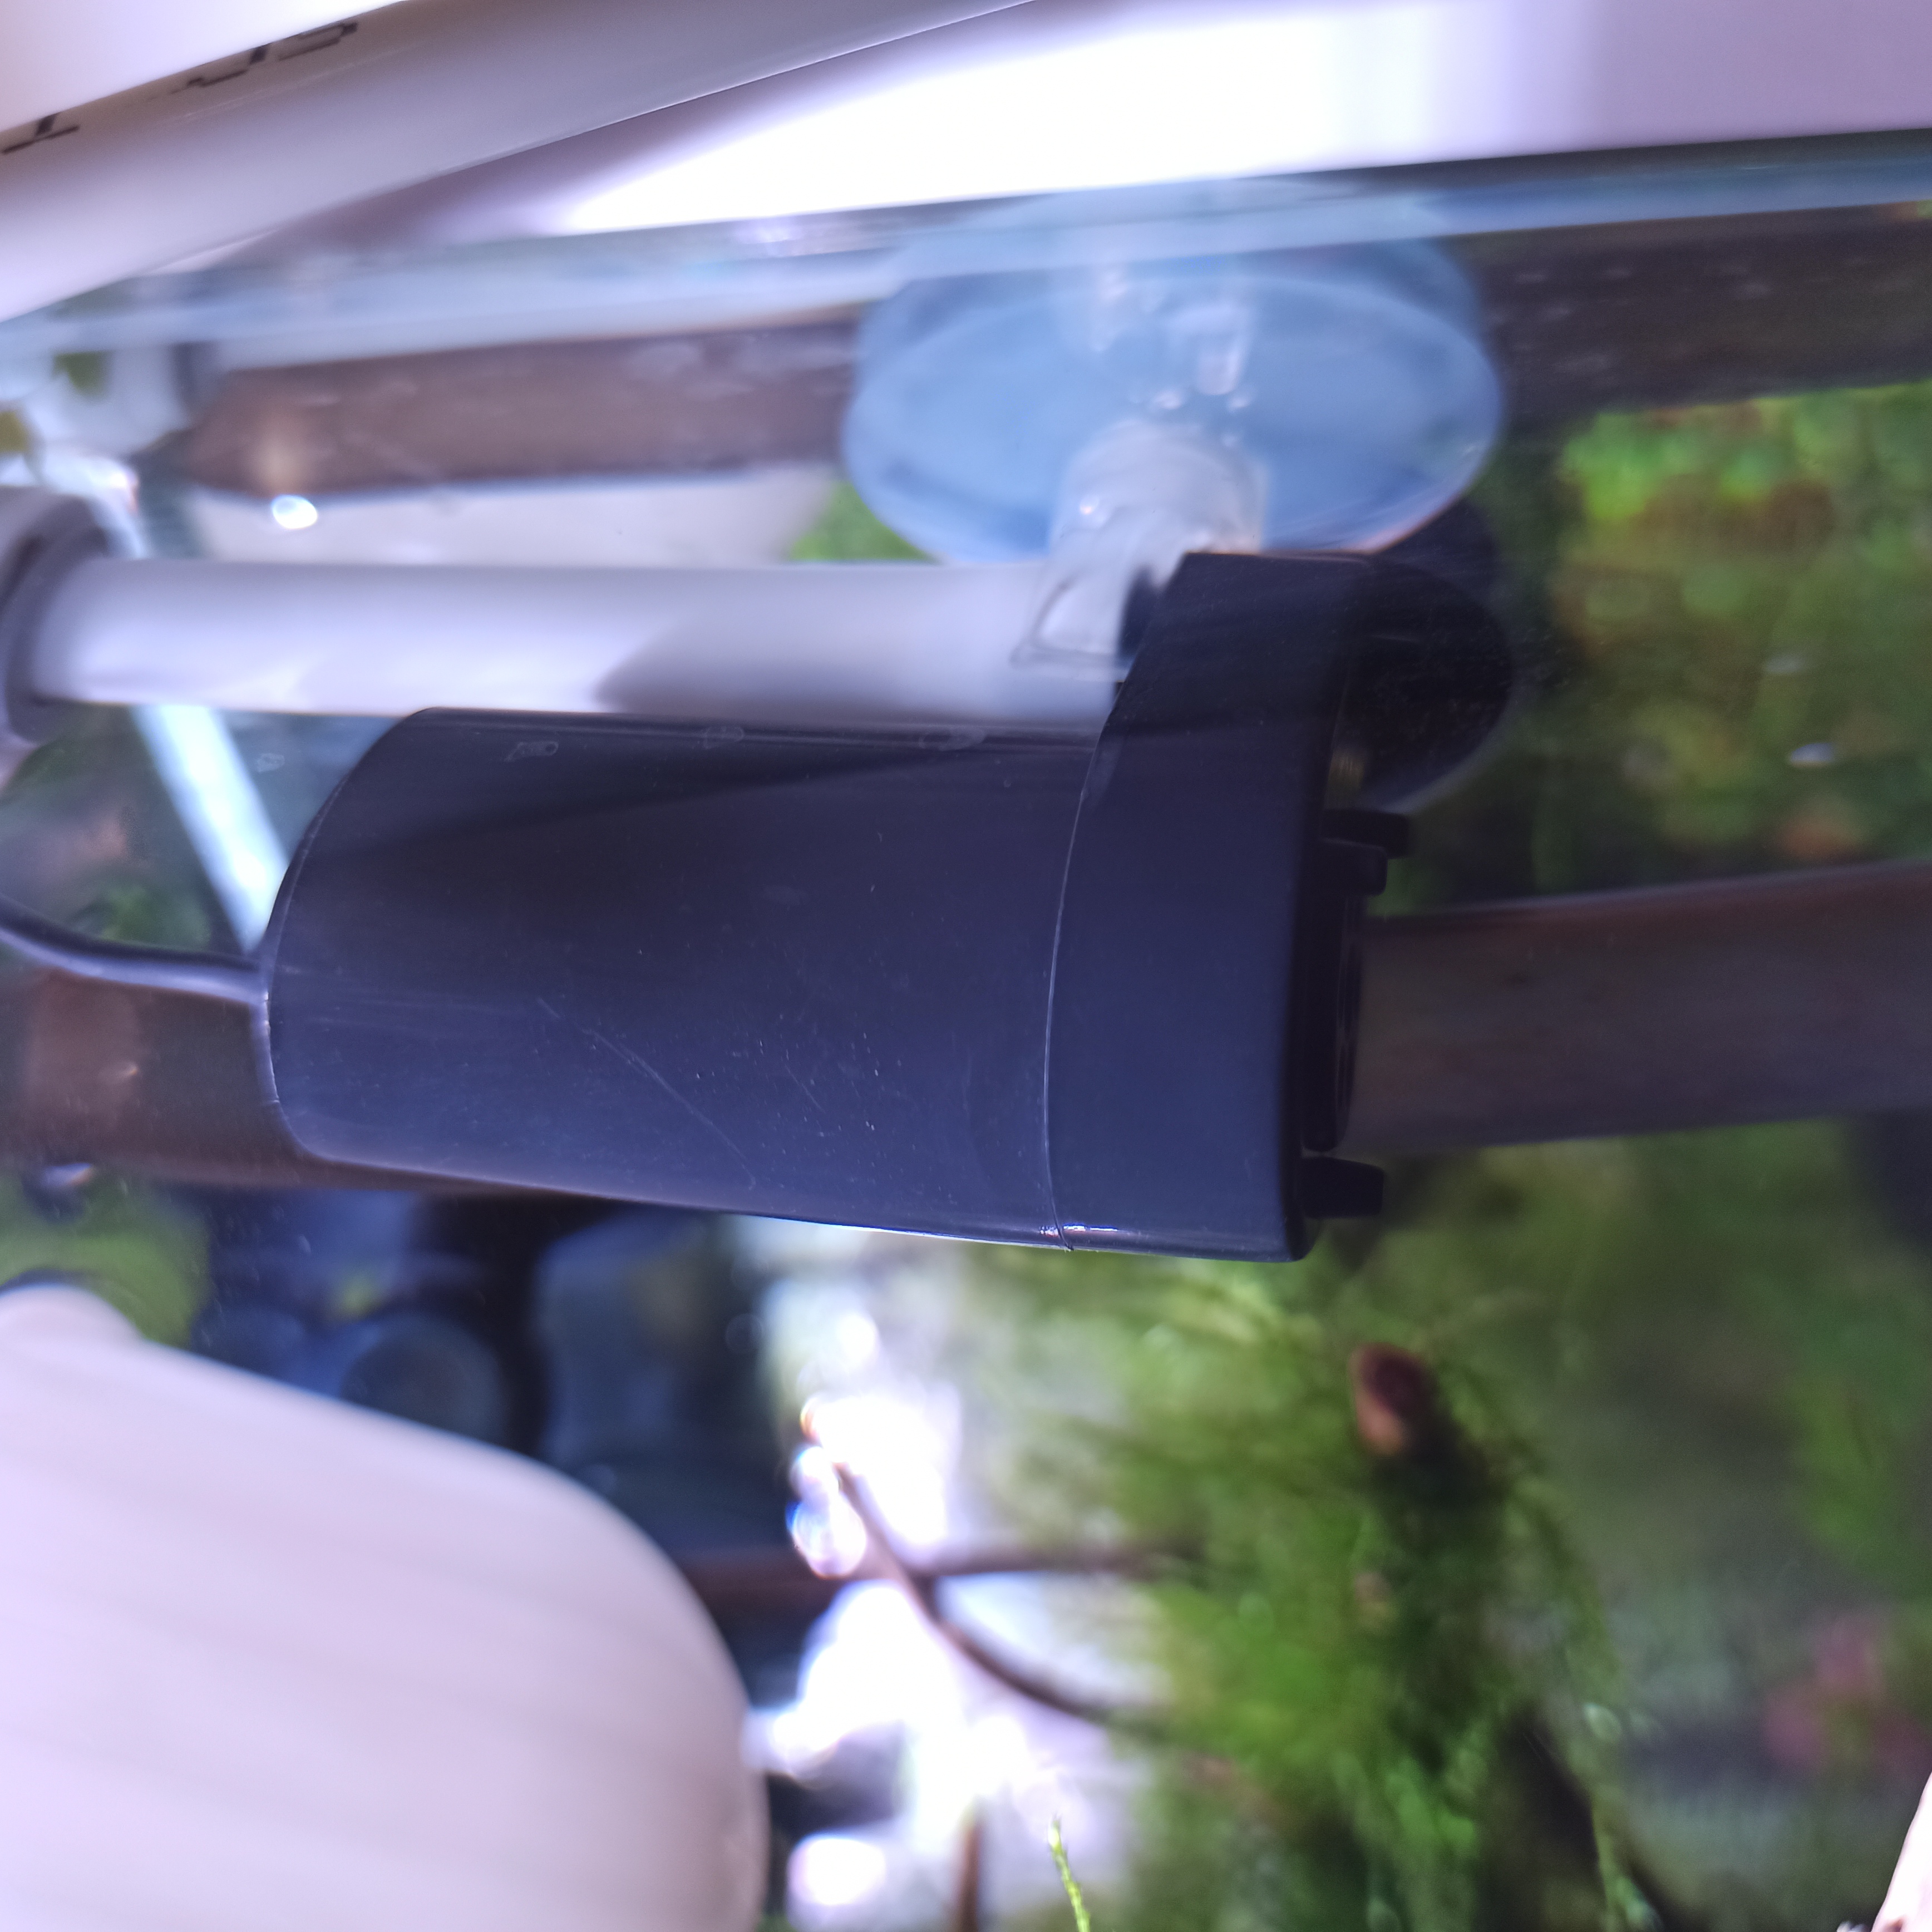
- Suction cups (Buy: Amazon, Lazada) to secure the pump inside the aquarium.
- Smart switch (I recommend using the Sonoff S26R2ZB Zigbee Smart Plug, especially if you already have a Zigbee2MQTT network)
- USB charger (Buy: Amazon, Lazada) (to provide power to the mini submersible water pump)
- A large bucket with ample capacity to hold the waste water for multiple rounds of water changes
- Water leak sensor (Buy: Amazon, Lazada) to detect when the waste water bucket becomes full.
- Additional water pump (Buy: Amazon, Lazada) for pumping out the waste water from the bucket.


Here is a video demonstrating how it works:
Here is the sample Home Assistant package written in YAML:
##########################################################
# Input Datetime
##########################################################
input_datetime:
  water_change_time:
    name: Water Change Time
    has_date: false
    has_time: true

##########################################################
# Input Select
##########################################################
input_select:
  water_change_day:
    name: Water Change Day
    options:
      - Mon
      - Tue
      - Wed
      - Thu
      - Fri
      - Sat
      - Sun

##########################################################
# Input Number
##########################################################
input_number:
  water_change_duration:
    name: Water Change Duration
    min: 10
    max: 300
    mode: box
    unit_of_measurement: sec

##########################################################
# Automation
##########################################################
automation:
  - alias: 'Weekly Water Change'
    initial_state: 'on'
    trigger:
      - platform: time
        at: input_datetime.water_change_time
    condition:
      - condition: template
        value_template: "{{ states('input_select.water_change_day') == now().strftime('%a') }}"
    action:
      - service: script.water_change

  - alias: 'Waste Water Bucket Full'
    initial_state: 'on'
    trigger:
      - platform: state
        entity_id: binary_sensor.waste_water_sensor_water_leak
        to: 'on'
    action:
      - service: notify.ben
        data:
          message: "Waste water bucket is full."

##########################################################
# Script
##########################################################
script:
  water_change:
    alias: "Water Change"
    sequence:
      - choose:
          - conditions:
              - condition: state
                entity_id: binary_sensor.waste_water_sensor_water_leak
                state: 'on'
            sequence:
              - service: notify.ben
                data:
                  message: "Unable to start water change. Waste water bucket is full."
        default:
          - service: notify.ben
            data:
              message: "Starting water change."
          - service: switch.turn_on
            entity_id: switch.water_change
          - delay: "{{ states('input_number.water_change_duration')|int }}"
          - service: switch.turn_off
            entity_id: switch.water_change
          - service: notify.ben
            data:
              message: "Water change is done."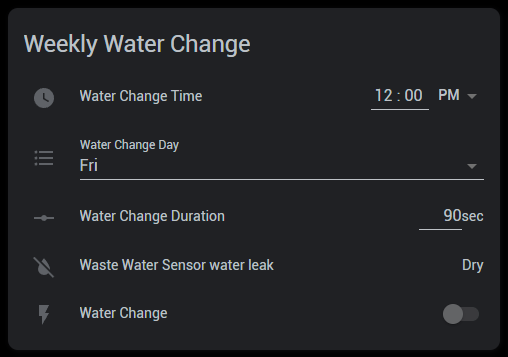
With the water successfully removed from the aquarium, it is now time to replenish it with fresh water utilizing an Auto Top Off (ATO) system, leading us to the next step in the process:
Refilling the tank with fresh water
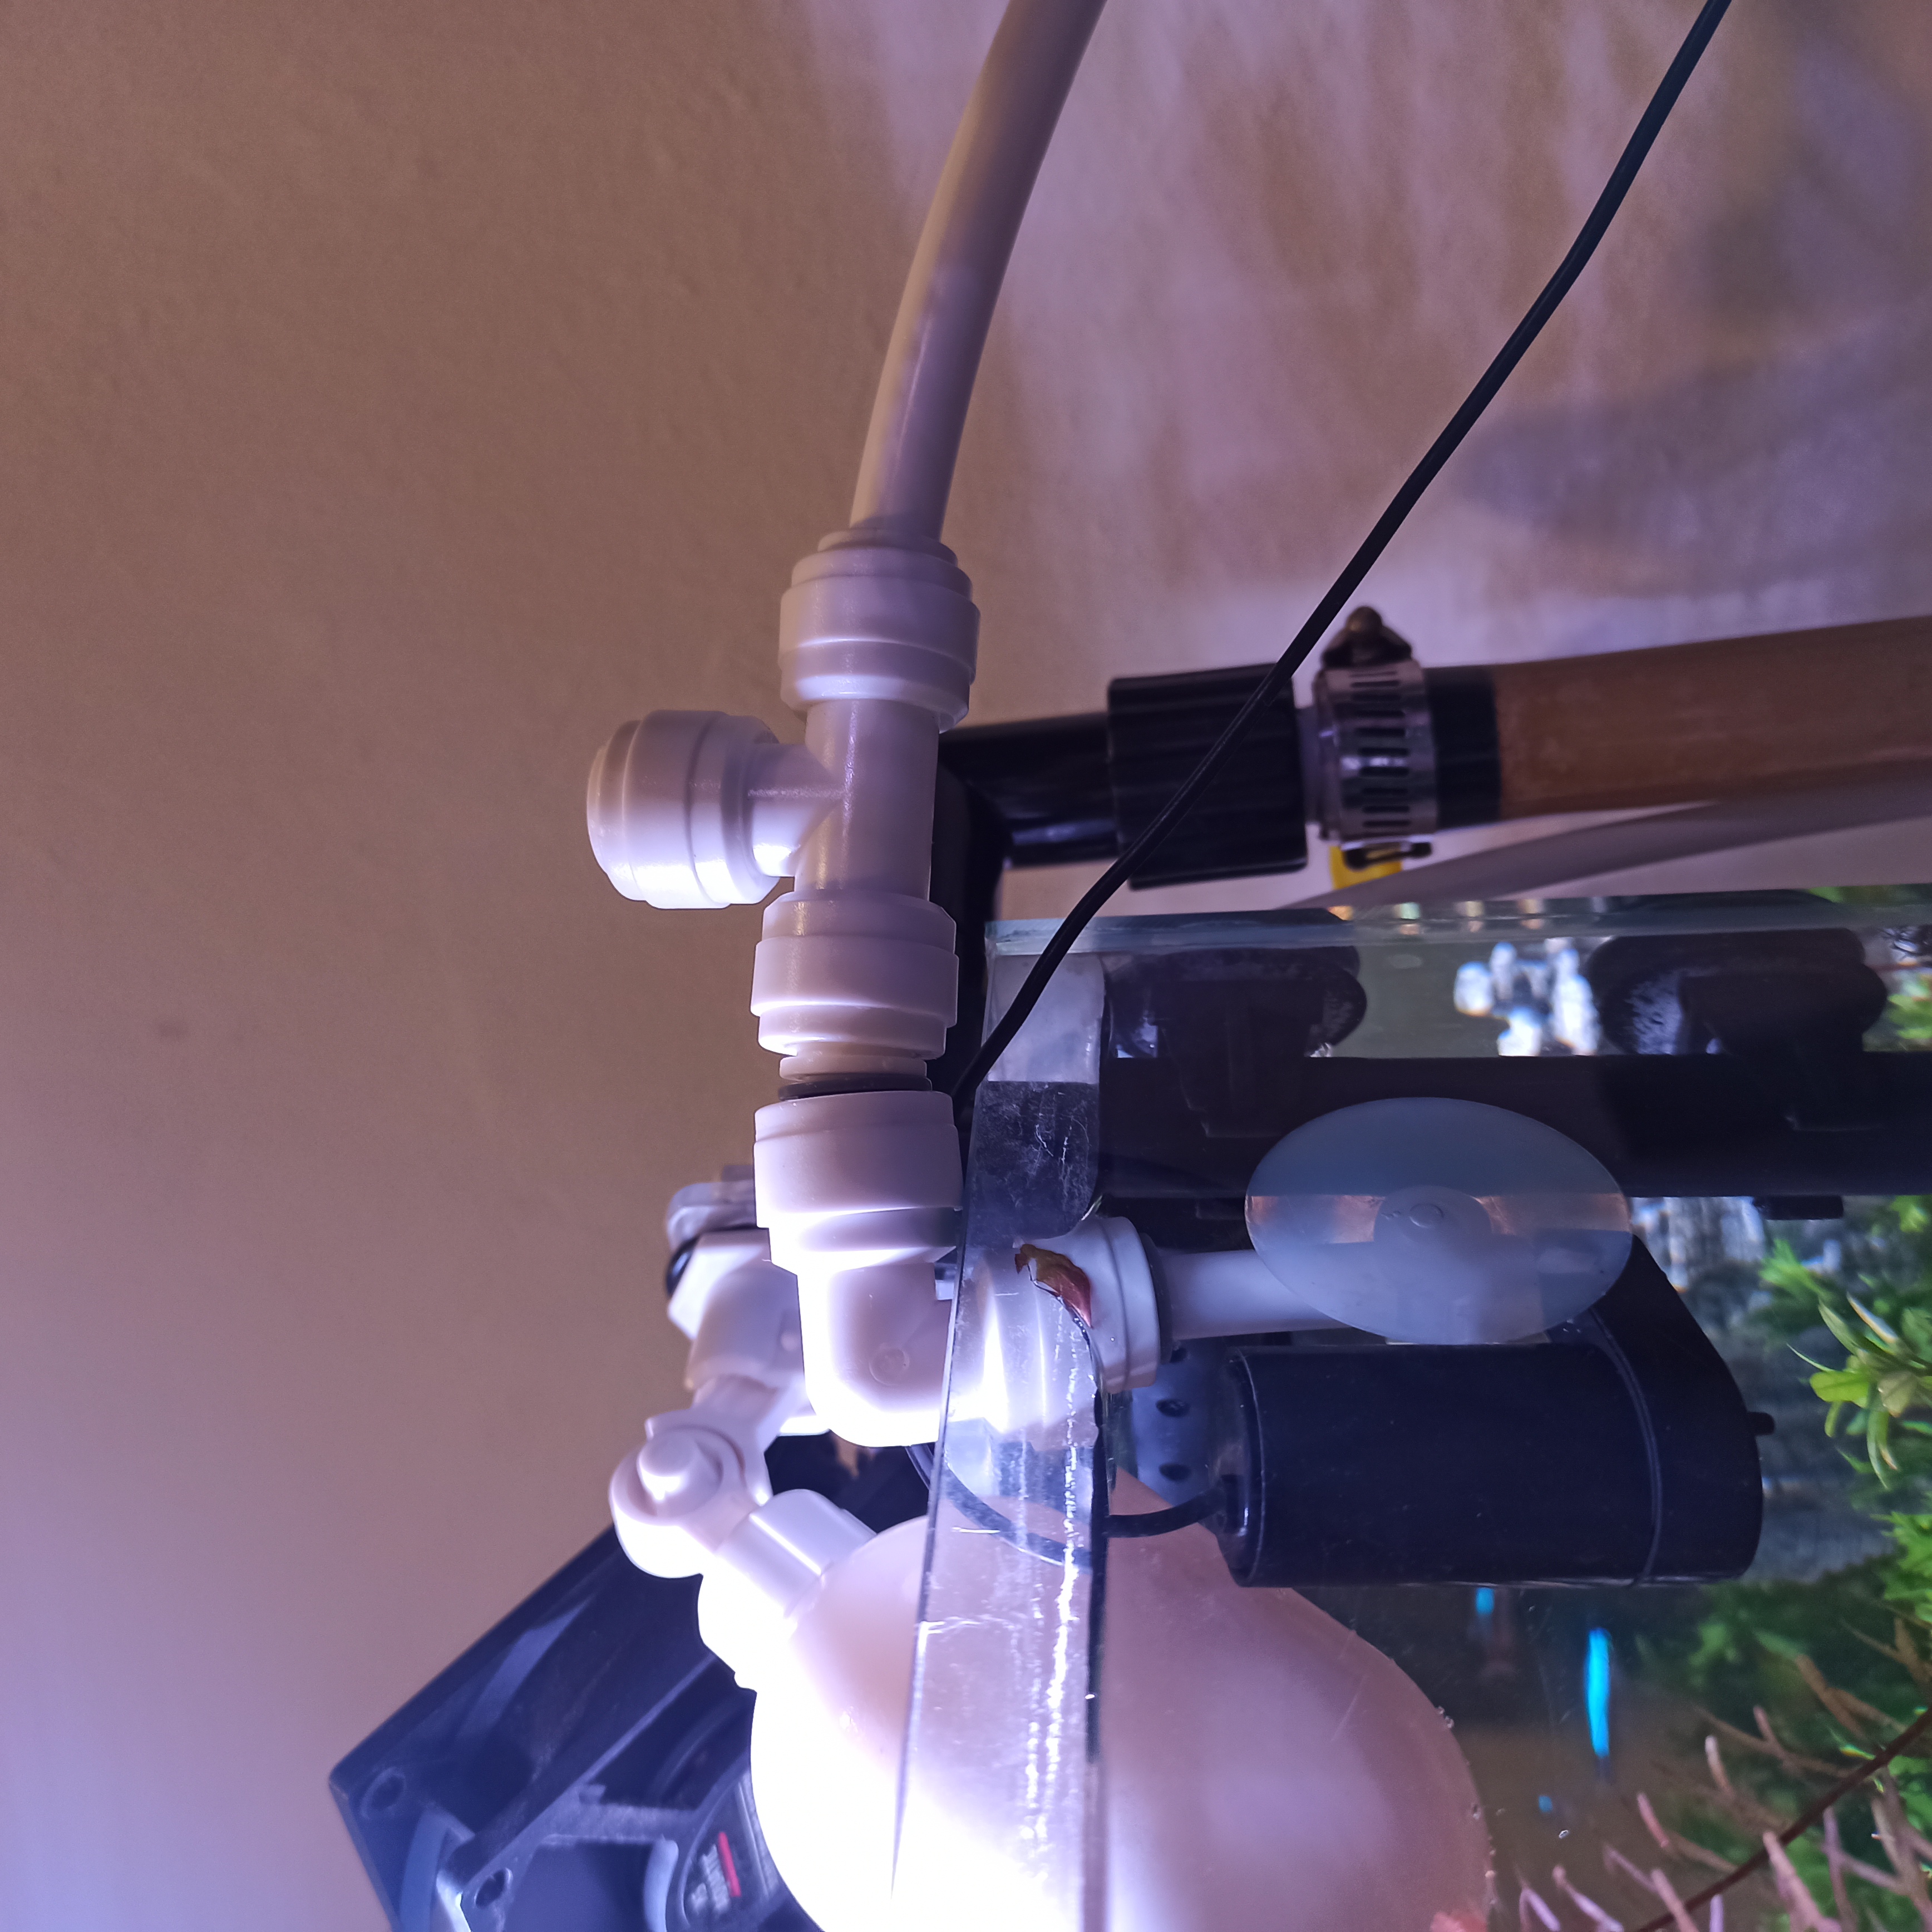
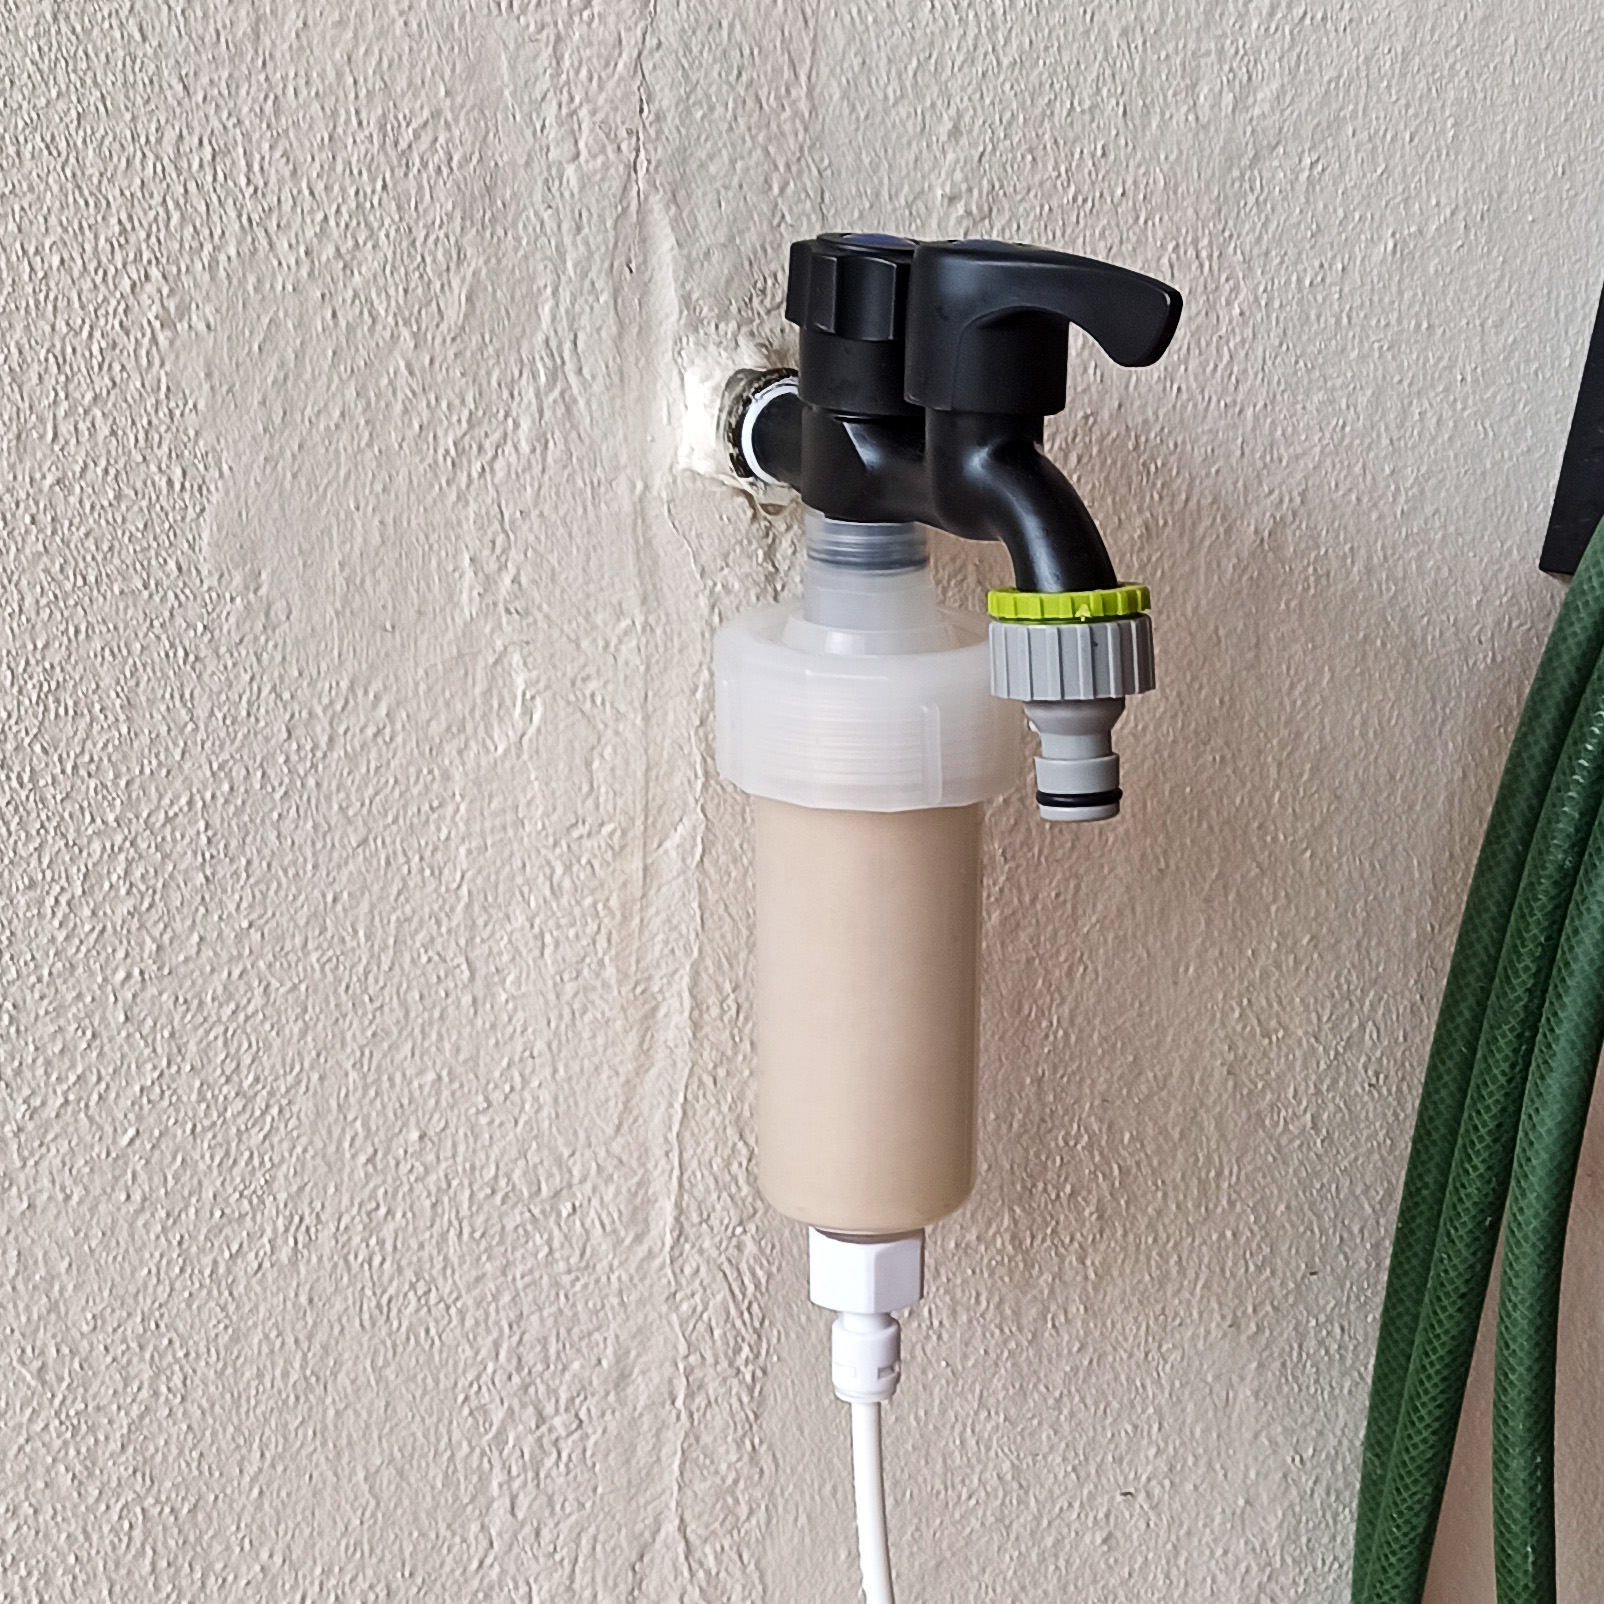
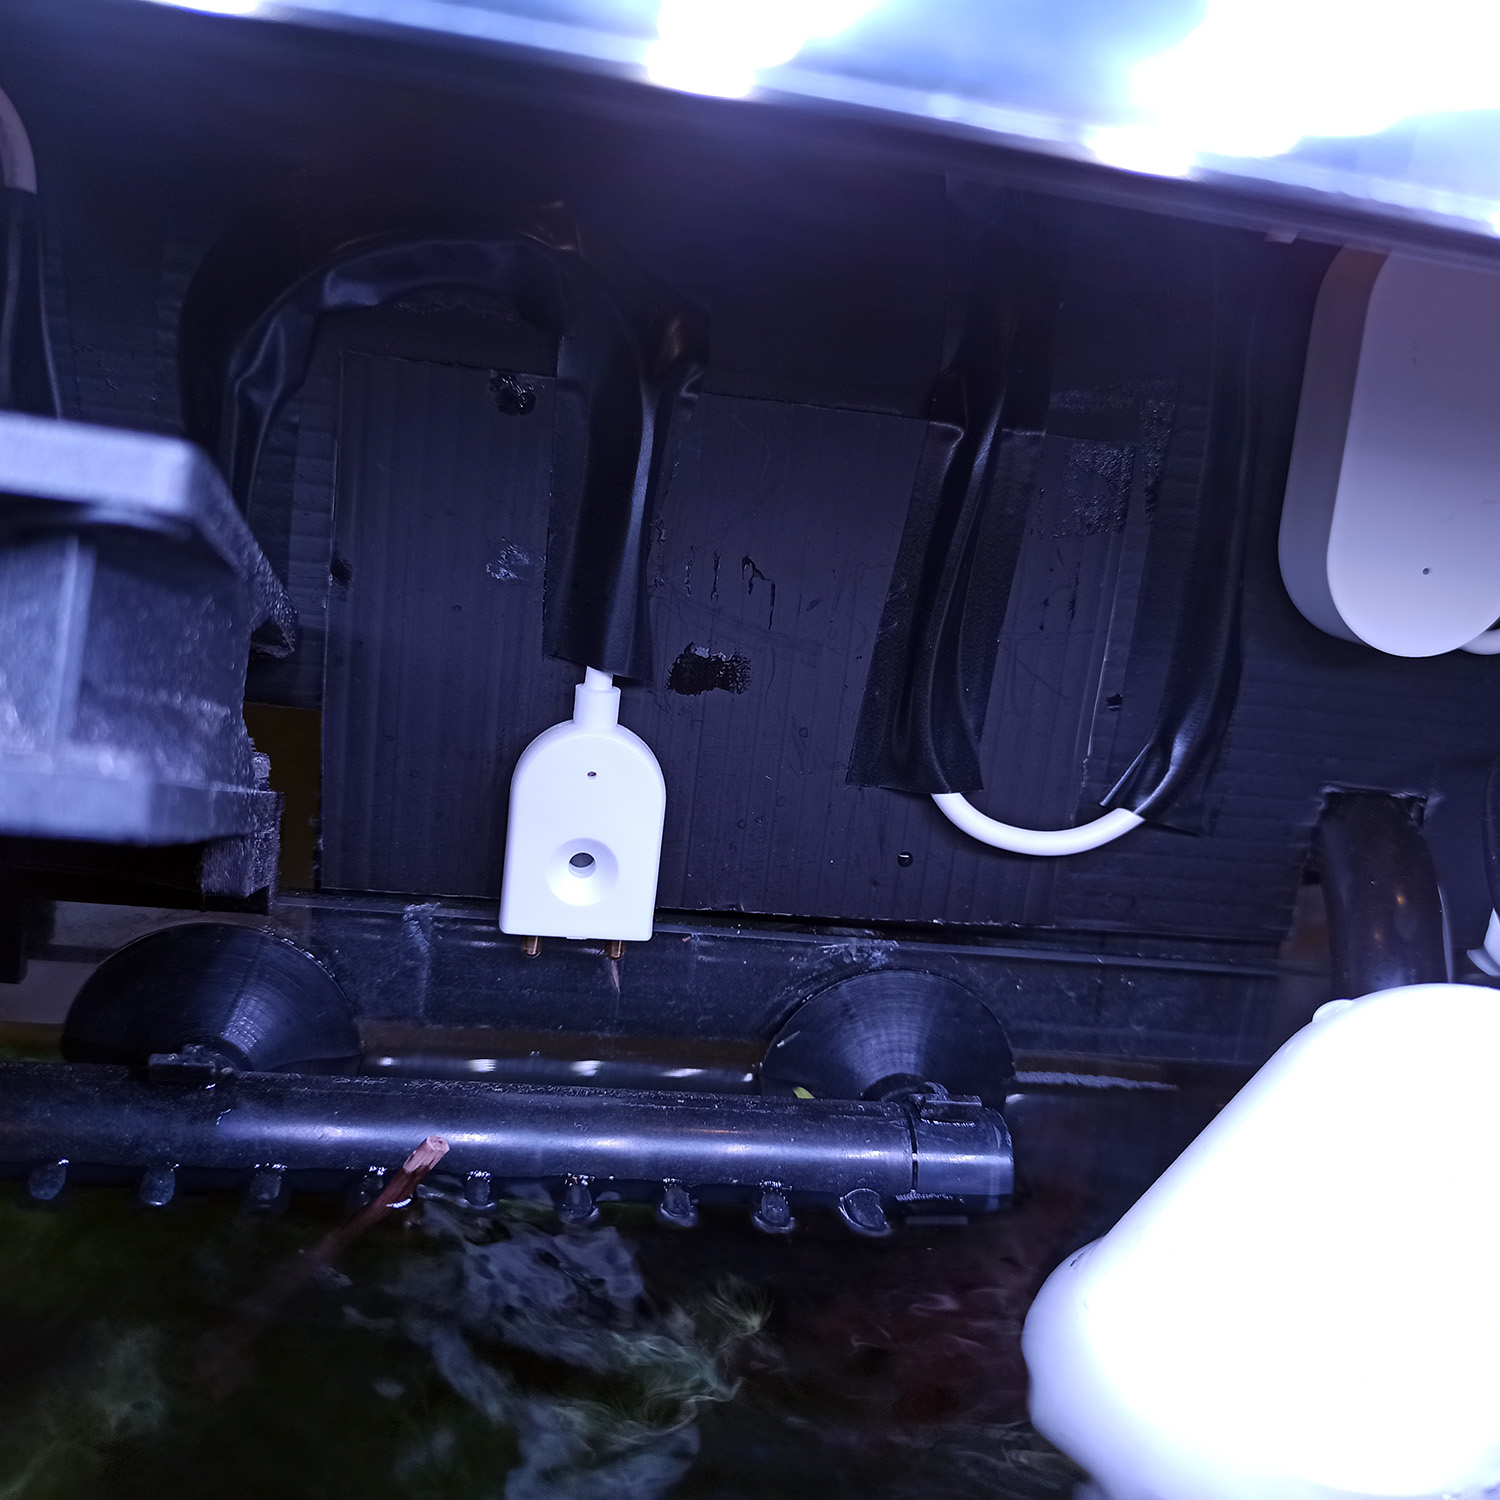
The concept is quite straightforward. Fresh water is sourced directly from the tap, and to ensure its quality, a water filter is installed after the tap to remove chlorine and impurities before it enters the tank. Within the tank, a float valve regulates the water level, cutting off the flow once it reaches the desired level. However, there is a slight chance that the float valve may malfunction. As a second line of defence, a water leak sensor is positioned at the edge of the aquarium glass, promptly alerting me in case of any potential overflow. Alternatively, I can enhance the system by incorporating a smart valve control at the tap, allowing for automatic shut-off when needed.
To build the Auto Top Off (ATO) system, these are the items I used:
- RO aquarium water filter system or anti chlorine aquarium water filter (depending on budget)
- Aquarium float valve set
- 1/4" water filter tube and some connectors
- Water leak sensor (Buy: Amazon, Lazada) to alert me in case the tank overflow.

In addition to its role in water changes, the ATO system proves to be incredibly useful in addressing water evaporation issues. Living in a tropical country, it is crucial for me to maintain a cool water temperature to create the ideal climate for my plants and animals. To achieve this, I have installed a USB fan that operates around the clock, blowing air into the tank. Unfortunately, this constant airflow accelerates water evaporation, requiring me to top off the water on a daily basis. However, with the ATO system in place, the need for daily water refills is eliminated, alleviating the tediousness of the process.
Here is the simple automation in Home Assistant written in YAML to alert me when the tank is overflowing:
automation:
  - alias: 'Tank 1 Overflow Alert'
    initial_state: 'on'
    trigger:
      - platform: state
        entity_id: binary_sensor.tank_1_water_sensor_water_leak
        to: 'on'
    action:
      - service: notify.ben
        data_template:
          message: "Warning! Tank 1 is overflowing!"
          title: "Alert"
      # Optional
      - service: switch.turn_off
        entity_id: switch.wap_water
Good to know
Here are some vital information about this setup:
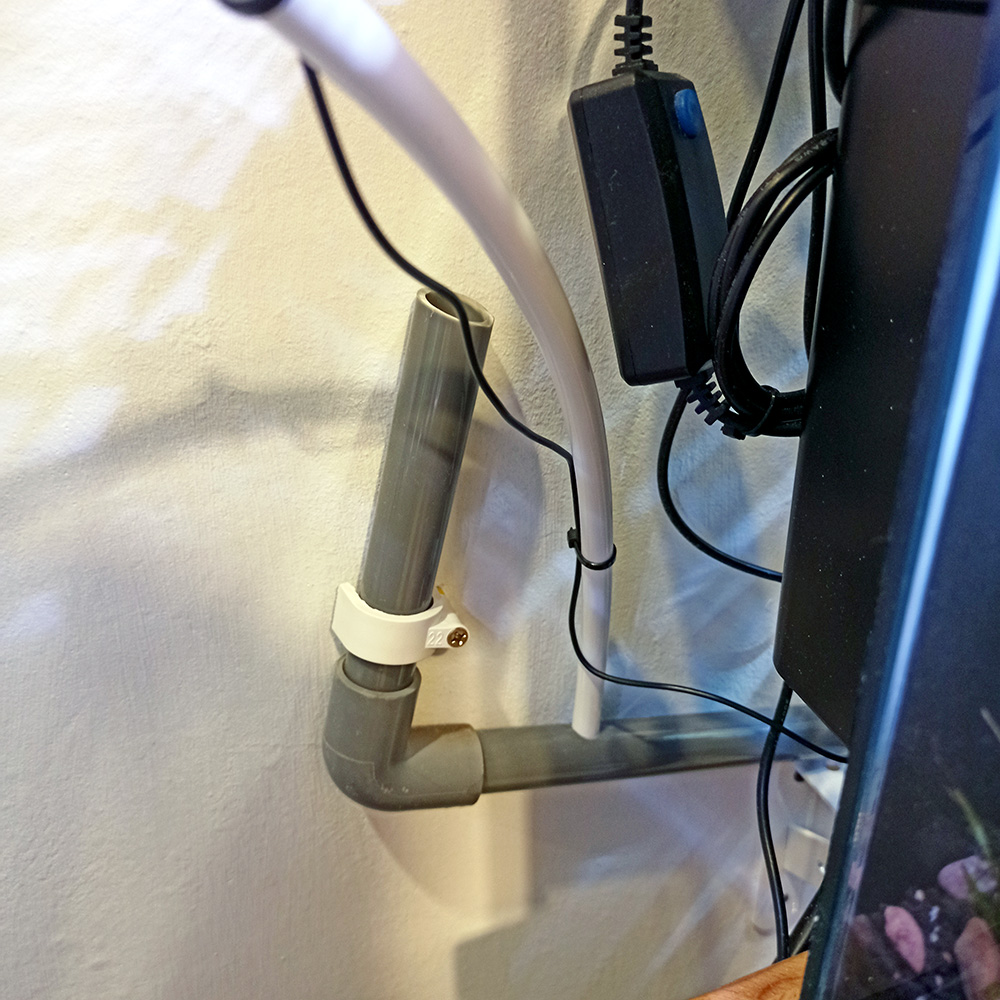
- It is crucial for the outflow of water from the tank to exceed the inflow. Failure to maintain this balance will result in stagnant water levels and prevent the siphon in the outflow line from breaking. To address this issue, it is recommended to install a control valve in the Auto Top Off (ATO) line to regulate and reduce the flow rate.
- For systems with multiple tanks, it is advisable to carefully calibrate the depth of the pumps inside each tank to ensure that the water level in each tank drops to the inlet of the respective pump at approximately the same time so that you can deactivate the smart switch, preventing any prolonged dry operation and promoting the longevity and reliable performance of the pumps.
- To enhance your water change system, an additional option is to incorporate a smart Total Dissolved Solids (TDS) sensor that can be integrated with Home Assistant. By doing so, you can automate the water change process based on TDS readings, rather than relying on a fixed weekly schedule. You can achieve more precise and efficient water management, reducing unnecessary water changes and conserving resources while maintaining optimal water quality for your tank inhabitants.
Conclusion
With the implementation of the automated water change system, managing fishkeeping has become significantly easier, especially when dealing with multiple aquariums. As a result, I now spend less time on maintenance and have more opportunity to fully enjoy the hobby. However, it's important to note that while the system has greatly reduced my workload, it doesn't eliminate all maintenance tasks entirely. I still need to manually perform certain duties such as gravel vacuuming, glass cleaning (although the assistance of nerite snails is quite helpful), plant trimming, filter maintenance, and other related tasks. Nonetheless, the system has effectively resolved two major concerns, providing me with a greater peace of mind. I sincerely hope this information proves beneficial in your own fishkeeping endeavours as well.

Comments